
First, check for asbestos in older installations—don’t skip this step. Grab your chisel, hammer, pry bar, and protective gear (gloves, mask, safety glasses), then turn off water and electricity to the area. Mist everything lightly with water to control dust, remove the grout around tiles, and pry them up from the edges. Finally, inspect your subfloor for damage and sweep up debris.
The details that follow will help you work like a professional.
Assess Safety Risks and Check for Asbestos

Before you grab a hammer and start swinging at those tiles, you’ll want to pump the brakes and do some detective work—especially if your home’s been around for a few decades. Older ceramic installations often hide asbestos in backerboard or mastic, so you’ll need asbestos testing from a certified lab to know what you’re dealing with. During your pre-removal assessment, identify asbestos-containing materials (ACMs) that demand special handling. If testing confirms asbestos presence, don’t go rogue—hire licensed abatement professionals who use wet removal methods and HEPA-filtered equipment. You’ll want safety gear like respirators and coveralls, isolation of work area to contain fibers, and proper hazardous waste disposal following local regulations. This protective approach keeps you and your family safe.

Trim Saving - The trim removal tool has a larger, flatter and wider contact area than clumsy traditional tools and features an integrated wedged center that provides increased removal efficiency and prevents damage to both the trim and wall.

5" WIDE BLADE: Firecore SDS plus floor scraper delivers 25% more material removal than standard blades, can be used for tile removal, mortar removal, and laminate floor and laminate glue removal.

Durable Triangular Carbide Tip: The flat edge with sharp corner ensures efficient grout removal, saving time and effort. With fine groove design, the tip is more suitable for detail cleaning. Contains 1 piece carbide tip replacement for longer life. Use carefully, pay attention to avoid scratching hands
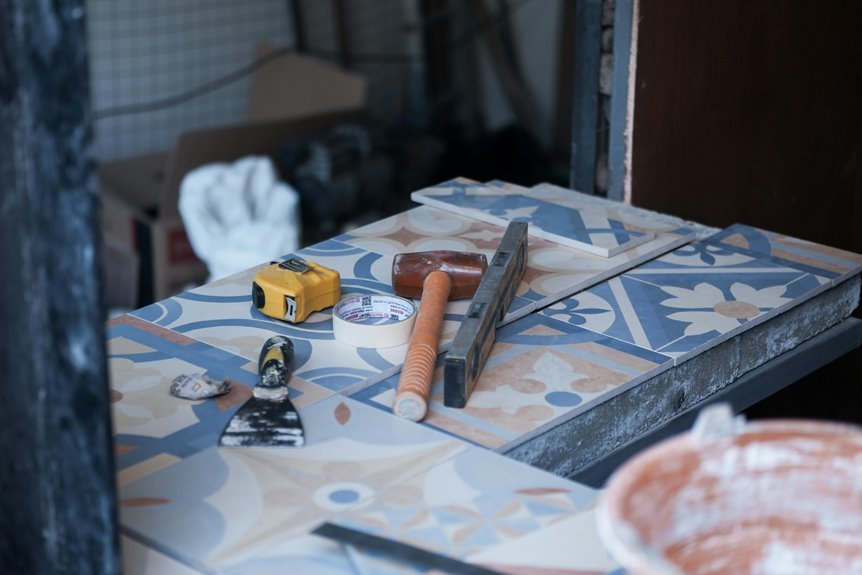
Grab Your Tools and Protective Gear

Now that you’ve confirmed what you’re dealing with, it’s time to gather everything you’ll need to safely tackle those tiles—and showing up unprepared will lead to frustration. You’ll want a solid chisel, hammer, grout saw, and pry bar to handle the ceramic tiles effectively. Grab a shop vac too, because dust control is important.
For protective gear, you need safety glasses, heavy-duty gloves, and a dust mask or respirator. Wear long sleeves and durable pants as an extra barrier against flying shards. If you’re using power tools, ear protection prevents hearing damage from loud sounds.
Set up your workspace near a window or fan, lightly mist the area with water to reduce dust, and you’re ready to begin.

SLGi Home Test Kits includes sampling tools, a prepaid return shipping label, instructions, and analysis.
SLGi Home Test Kits includes sampling tools, a prepaid return shipping label, instructions, and analysis.

DIY Asbestos Sample Test Kit
Clear the Area and Disconnect Fixtures

Once you’re suited up and ready to swing that hammer, the first thing you need to do is make your workspace actually safe—and that means turning off the water supply and electricity to any fixtures in the area. Next, disconnect or temporarily cap off your toilet, vanity, sink, and faucets so you’re not dealing with leaks while you work. Clear out everything that might get damaged, then cover your surrounding surfaces with plastic sheeting or cloths—tile dust gets everywhere. Before you start removing tiles, take time to remove the grout around them, which makes the whole job easier and reduces breakage. Finally, designate a drop zone for debris and plan your removal sequence starting from the outer tiles working inward. You’re organized and ready to roll.

PROTECTION : The AirGearPro G-500 Respirator mask and Safety Goggles are CE certified to ensure your protection during painting, woodworking, construction, sanding, renovation, demolition etc.

【99.6% FILTRATION】Adopted EAPI filter technology and Advanced Nanotechnology, BASE CAMP respirator mask works with 6-layer filters to block 99.6% dust, pollen, odors, pollutants, and other airborne particles (Note: The filter already attached is just an example; please replace it with a new filter when using your dust mask)

Enhanced Defense: Equipped with a filtration system, this respirator effectively blocks dust, , and oily particles, ensuring protection efficiency surpasses 99.97.
Remove Grout, Pry Up Tiles, and Scrape Adhesive

With your workspace cleared and everything shut off, you’re ready for the real work. Start by loosening the grout with a grout removal tool or cold chisel, creating gaps around each tile. Once you’ve cleared the grout, insert your chisel at a tile’s edge and pry up tiles carefully. For stubborn ones, score the tile diagonally (about 1/16 inch deep) to create break lines before prying. Use a tile scraper or hammer and chisel to lift tile remnants and expose the mortar underneath. Keep your safety gear on and sweep or vacuum debris regularly—dust control matters here. Clear away dust constantly to maintain a safe work area, and you’ll eventually reveal the substrate for inspection.

DEWALT oscillating tool blade features UNIVERSAL FI ENT for use on all major brands (no adapter required)

Diamond Oscillating Multi Tool Grout Remover Blade for Small Jobs

Compatibility: Not suitable for Starlock, Starlock Plus, and Starlock Max systems (such as Bosch, Fein), and some Dremel tools require an adapter (such as Dremel mm30, mm35, mm40, mm50). Please refer to the product details page for more information.
Inspect for Damage and Clean Up Debris

What’s hiding under all that dust and debris? After removing tiles, grab your shop vac and safety goggles—dust control matters—then thoroughly clean every inch of your subfloor. You need a completely clean subfloor with no shortcuts. While you’re inspecting surface damage, check for cracks, loose thinset, or water damage that will affect your project readiness. Look closely at the substrate itself; warped drywall or rotten plywood needs replacement before you proceed. Your subfloor inspection should catch nail pops, soft spots, or uneven areas too. A level surface is non-negotiable for ceramic tiles, so address any high spots or dips now. Taking time here prevents problems later—proper debris cleanup and thorough inspection separate successful projects from frustrating ones.

Features a nail puller, razor sharp scraper edge, and an angled edge for pulling and prying

Heat-treated and coated for rust resistance For a wide variety of prying and scraping uses
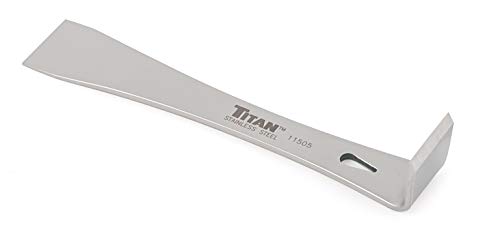
Features a nail puller, razor sharp scraper edge, and an angled edge for pulling and prying


