
You’re basically making clay soup, and it’s simpler than you’d think. Grab your clay scraps, match them to whatever clay you’re using (this matters), then soak them in water until they’re soft and mushy. Crush any stubborn lumps, blend everything smooth like thick cream, and test the flow by pouring a bit from your spoon. Want stronger bonds? Add vinegar or paper pulp. Store it in an airtight container, and when you’re ready, apply it generously on surfaces before pressing pieces together. There’s actually much more to achieving consistent, reliable bonding results.
Why Slip Bonds Clay Pieces Together

Have you ever wondered why clay artists don’t just stick two pieces together like you’d glue paper? Well, slip—that creamy clay mixture—is actually essential for making joints that last. When you join two clay pieces without slip, the connection stays weak and cracks easily because the clay surfaces don’t bond properly. But here’s the thing: slip acts like a clay adhesive, creating strong connections between handles, limbs, and coils.
The bonding occurs because slip fills tiny gaps between surfaces, fusing them together as the clay dries and fires. I’ve learned that using slip made from your exact same clay body prevents shrinkage problems that cause splitting. Getting the water-to-clay ratio just right matters too—not too runny, not too thick. That’s when slip makes your ceramic work from fragile to durable.

Timeless Vintage Charm: package included 1 pc mixing bowl, transform any kitchen into a charming with our retro-style blue-striped ceramic mixing bowl; Its classic "antique shop" look seamlessly complements rustic, traditional, or modern kitchen decor, making it not just a functional tool but a centerpiece that adds style to your home

【Size and Capacity】Mixing bowls are available in 10-inch and 8-inch sizes, and the bowl has a very large capacity, suitable for all your cooking and baking needs. Perfect for serving holiday meals and the perfect size to hold a variety of side dishes.
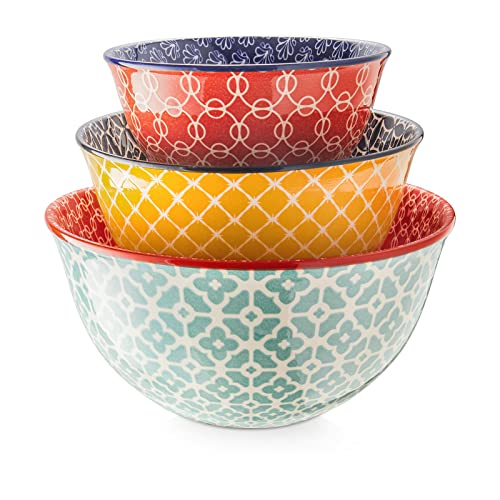
Beautifully Crafted Colored Mixing Bowls for Any Occasion: These ceramic mixing bowls feature vibrant patterns and exquisite craftsmanship, making every piece unique. Their colorful design not only brightens your kitchen but also transforms mealtime into a delightful experience. Perfect as vintage mixing bowls for a charming, timeless look
Gather Clay Scraps or Fresh Clay

The foundation of good slip starts with what you’ve got on hand—clay scraps, leftover pieces from old projects, or brand-new clay from your bag. I’ve learned that having dry clay scraps stored nearby makes slip preparation easier. You’ll want to tear large balls into small pieces first, which sounds simple but does affect how smooth your final slip turns out. Spread everything onto a plaster slab or wooden board, aiming for flakes about 1–2 cm—that size breaks down faster. Let it dry completely before mixing with water; this step prevents those annoying lumps that’ll cause problems later. Whether you’re using scraps or fresh clay, drying thoroughly sets you up for success. Keep that collection going, and you’re already building a solid slip routine.
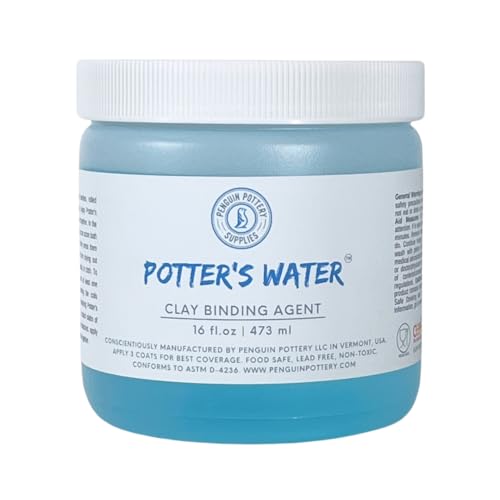
HELPS BOND CLAY: Penguin Pottery Potter's Water, sometimes referred to as magic water, is useful when you need to attach one piece of clay to another. For instance, it is...
Match Your Slip to Your Clay Body

One thing I’ve discovered the hard way is that your slip’s gotta match your clay body, or you’re headed for trouble. When you use mismatched slip, shrinkage rates differ, and cracks appear everywhere. I learned this after watching my carefully attached handles separate from mugs. Here’s what I do now: I make slip from the exact same clay I’m working with, no exceptions.
| Clay Body | Shrinkage Rate |
|---|---|
| Earthenware | High |
| Stoneware | Medium |
| Porcelain | Low |
| Terracotta | Very High |
| White stoneware | Medium-Low |
I label every container clearly—seriously, label everything—so I’m never guessing which slip goes where. This slip matching practice keeps my work intact and my stress levels down.

CRAFTSMANSHIP RESTORED: Y'allCanDiy Ceramic Glue is your go-to solution for restoring broken ceramics to their former glory. Designed specifically for pottery, porcelain, and ceramic repair, our high-strength adhesive creates seamless, invisible bonds that stand the test of time, ensuring your cherished items look as good as new. Cap Color May Vary (Blue or White, Same Glue).

Powerful Bonding Strength: Adhesive Guru Ceramic Glue creates strong, long-lasting bonds on ceramics, porcelain, pottery, figurines, vases, and more. Restore your cherished items with confidence knowing they’re securely fixed for years to come.

🎨 Restore Craftsmanship with Invisible Bonds: Designed for pottery and porcelain repair, this ceramic glue creates seamless, invisible bonds that restore your cherished items to their original glory. Perfect for mugs, plates, and decorative pieces, it ensures your ceramics look as good as new for years to come.
Soak Clay in Water Until Soft

Now here’s where patience really pays off—you’ll want to get the water-to-clay ratio just right, not too much and not too little, so your clay softens evenly without turning into soup. I’ve found that watching the timing carefully is important; depending on your clay’s thickness and how finely you tore it up, you’re looking at anywhere from a few hours to overnight before it’s soft enough to work with. The whole process is actually pretty forgiving, no, really, as long as you keep an eye on things and stir occasionally to help break down those stubborn bits.
Water Ratio Essentials
How’d you like to turn rock-hard clay into something workable? Well, here’s the thing—getting your slip consistency right depends entirely on nailing the water ratio. I’ve found that you’ll want enough water to fully submerge your clay pieces, letting them soak gradually without forcing them to break down too fast. Once they’re soft and darkened, you’re ready to mash them up. Now comes the real work: adjusting your water content until you’ve got that perfect pourable texture. Too thick? Add water slowly, remix, and check again. Too thin? You’ve gone too far. The trick is finding that sweet spot where your slip flows smoothly without being soupy. Getting this balance right makes everything else so much easier.
Timing Clay Breakdown
Before you dump your clay into water, you’ll want to prep it properly—and that means tearing up your dry clay into small pieces first. Here’s why this matters: smaller pieces break down faster, which means less waiting around.
- Spread those torn pieces on a plaster slab or wooden board to dry into firm flakes about 1–2 cm each
- Place your prepared clay in a container with water, making sure the water sits above the clay layer
- Let it soak until the mixture darkens—this is your slake time, and it’s when the clay begins to hydrate
Once your clay’s had enough time soaking, break up that softened mass with a spoon or paddle. This speeds up hydration and creates an even breakdown, getting you closer to that smooth, workable slip you’re after.
Crush Lumps Before Blending

After you’ve soaked your clay until it’s soft and workable, you’ll still have lumps that’ll mess up your slip if you don’t deal with them first. Grab a spoon and break up those softened pieces into smaller chunks, really crushing them down so you’ve got no stubborn clumps hiding in there. Once everything’s broken down nice and fine, you’re ready to blend it all into that smooth, creamy slip you’re after.
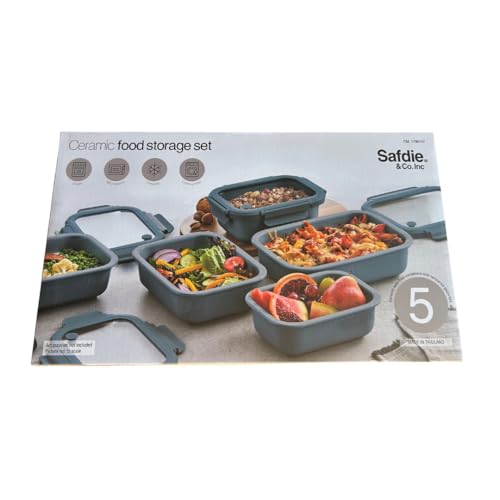
COMPLETE SET: Includes 5 ceramic containers with tempered glass lids for versatile food storage and organization in your kitchen

★High-quality Material: MilkyWay food storage jar is made of ceramic material, which is scratch-proof, moisture-proof and shatterproof. The lid of the ceramic tea coffee canister is made of bamboo material, it can close attaching to the ceramic kitchen canister and it is durable and sturdy.
![BRIVARA HOME Glass Food Storage Container with Lid, 6-Cup Medium Rectangle | Microwave-Safe Airtight Lid, Oven-Safe Ceramic-Coated Glass | Zero Plastic, No PFAS/PFOA/BPA, Reusable [Crema]](https://m.media-amazon.com/images/I/21pc2IPZ-jL._SL500_.jpg)
ONE GLASS CONTAINER WITH AIRTIGHT LID! A single 6-Cup Medium Rectangle ceramic-coated glass food storage container with a matching glass lid and food-grade silicone seal, perfect for leftovers, meal prep, and pantry storage.
Breaking Down Clay Pieces
Why does breaking down your clay before blending matter so much? Well, when you’re serious about slipmaking, properly preparing your clay pieces is important for the difference between smooth slip and frustrating lumps.
Here’s what I do:
- Tear a large ball into small chunks to maximize surface area for faster breakdown
- Break those chunks into flakes about 1–2 cm to speed up drying and blending
- Spread everything onto a plaster slab or wooden board to reduce moisture content
Once I’ve got my clay in manageable pieces, drying happens quicker. Completely dry clay prevents lumping when you mix it with water later. Then you’re ready to create that smooth, lump-free slip that’ll improve your ceramic work.
Preparing For Blending
Now that your clay’s dried out on that plaster slab, you’re ready to crush those hardened pieces before they hit the blender. Breaking those lumps into smaller flakes—about one to two centimeters—speeds up the whole slip preparation process. Keep a container nearby and work through your dried scraps systematically, crushing them into manageable pieces. You’ll want to have extra dry clay scraps handy too, because you’re going to need them later when your slip gets too thin. This preparation step matters because you’re literally working solid clay into something usable. Taking time now prevents frustration during blending.
Blend Until Smooth and Pourable

How do you know when your clay slip’s ready to use? I blend until I’ve got that perfect slip consistency—thick but pourable, like cream. Here’s what I do:
- Break up dry clay and soak it overnight in water
- Blend or stir the mixture thoroughly the next day
- Adjust by adding water to thin or dry clay to thicken
You’ll feel it work when your slip flows smoothly without lumps. This matters because mismatched slip causes cracking later. I use the same clay body as my piece, which keeps everything shrinking together. The goal? A uniform texture that pours easily but holds its shape. When you’ve achieved it, you’re ready to apply that slip with confidence.

Material: ceramic, fired at high temperature

Nesting Bowls: Mix it up with this set of small, medium, large and extra large nesting bowls! Perfectly sized for prepping, styled for serving, and nests snugly for space-saving storing

Natural, glazed, 10", kitchen ware, all natural, lead free, multipurpose, American made, ceramic
Adjust Consistency to Thick-But-Pourable

Now comes the fun part—finding that sweet spot where your slip pours like thick cream instead of soup or sludge, and I’ll be honest, it takes a bit of feel to get it right. You’re basically playing with the water-to-clay ratio, adding water bit by bit (seriously, go slow) if things are too stiff, or sprinkling in dry clay scraps if your mixture gets too runny and loses its grip. Once you’ve mixed thoroughly and let everything blend together smoothly, test it by pouring a small amount and watching how it flows—you want it to move without resistance but still hold body, which tells you you’ve hit that thick-but-pourable sweet spot.
Water-to-Clay Ratio
Why does consistency matter so much when you’re making slip? Because the water-to-clay ratio literally determines whether your slip works or flops.
Here’s what I’ve learned about slip consistency:
- More water creates a looser, cream-like slip that flows beautifully
- Less water produces thicker, pourable slip that clings better to surfaces
- The sweet spot lands somewhere between—thick enough to coat, loose enough to pour
Start where I do: aim for that thick-but-pourable texture, like cake batter. Then adjust based on what you observe. If it’s too thin, add dry clay. Too thick? Sprinkle water gradually until it moves smoothly. You’ll develop a feel for it quickly, and that’s when slip-making becomes intuitive rather than frustrating.
Testing Slip Consistency
Once you’ve figured out your water-to-clay ratio, the real test begins—and I mean that literally. I pour a small amount from my spoon’s edge, watching how it flows. The slip consistency you’re after? Think cream-like, thick but pourable—not runny, definitely not chunky. It should move slowly and steadily, no racing off the spoon like water.
If mine’s too thin, I add clay scraps or let it sit longer to thicken up. Too thick? I drip water in gradually, mixing carefully between each addition. I break apart any clumps I spot (no, really, every single one) to achieve uniform texture without grit.
Comparing batches against my best-working slip keeps me honest about consistency, letting me reuse safely and reliably.
Strengthen Slip With Vinegar or Paper Pulp

You’ve got two solid options for making your slip tougher and more reliable, and they work in completely different ways. I’m talking about slip reinforcement that’ll actually make a difference in your work.
Here’s what I do:
- Add vinegar – about one teaspoon per pot strengthens the chemical bonds during slaking, making everything stick better
- Mix in paper pulp – creates tiny structures inside your slip that reinforce joints and fight cracks
- Combine both – vinegar handles the chemistry while paper pulp provides physical backup
The trick with paper pulp? Keep it uniform and fine so it doesn’t clog your joints with chunks. These additions heal existing cracks too, meaning your ceramic joints become durable. You’re giving your slip reinforcement through different mechanisms working together.

【Expert Bonding for Delicate Ceramics】 Don't let a broken heirloom stay in pieces. This professional-grade adhesive is specifically engineered to handle the porous and non-porous surfaces of fine porcelain, bone china, and pottery. It creates a structural bond that effectively fuses broken edges, making it the ultimate solution for restoring cherished vases, statues, and decorative ceramics.

NO-DRIP GEL FOR BROKEN HANDLES, EDGES & FIGURINES: Thick formula stays in place on vertical and overhead ceramic surfaces – reattach mug handles, fix chipped plate rims, restore broken pottery pieces, and bond porcelain figurines without the glue running down the surface.
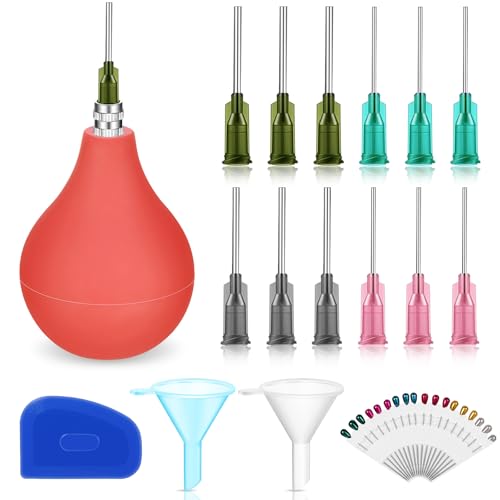
Pottery Tools Set: you will receive 3 ounce pottery applicator bottle, 12 plastic steel needles, 2 plastic funnels, 1 metal connector, 1 small oval scraperand 1 box of unclogging needles; The set is complete and practical, it is a very suitable personal ceramic bottle glaze applicator tool set, allowing you to enjoy the fun of pottery at home and unleash your creativity
Store Slip in Airtight Containers

Now that your slip’s reinforced and ready to go, let’s talk about keeping it in good shape—because all that hard work means nothing if your mixture dries out and turns into a brick. I’ve learned that slip storage works best with 16 oz plastic containers featuring screw-on lids, which create a tight seal that keeps moisture locked in. Avoid those snap-on lids; they’re just not going to cut it for long-term storage. When possible, keep slip communal in larger containers and share among studio mates—it’s actually effective because bigger batches dry slower, extending usability for everyone. After breaks, simply re-stir and add water as needed to refresh consistency. It’s straightforward maintenance that saves you from wasting perfectly good slip.
Apply Slip for Strong, Lasting Bonds

- Use cream-like consistency—thick but pourable, no lumps allowed
- Apply generously to both joining surfaces for maximum contact
- Consider adding vinegar or Magic Water for extra grip
I’ve learned that stronger bonds come from thinking ahead. When you’re joining pieces, press them together firmly and smooth the seams. No, really—that extra pressure matters. Your clay slip becomes the glue holding everything together, so don’t rush this step. Taking time here prevents problems later when your finished piece might fall apart.
PREMIUM PORCELAIN -- NOT PLASTIC: These food storage containers are made from high-fired porcelain, providing a natural, chemical-free alternative to plastic tupperware. Porcelain does not leach chemicals when heated, does not absorb food odors or stains, and maintains a clean, fresh interior container after container.

Jewelry jar--suitable for daily use and it will look great on dresser and shelf without taking much space,Ceramic Organizer Jar

Soft & Spreadable: This ain't your Grandma's Butter Dish. But it could be. Keep butter ready to spread on toast, biscuits, waffles, pancakes and more


