
First, mark your spot and grab a carbide-tipped bit—not a regular drill bit.
Second, go slow with water cooling (spray that bit constantly) at low speed so you don’t crack the tile.
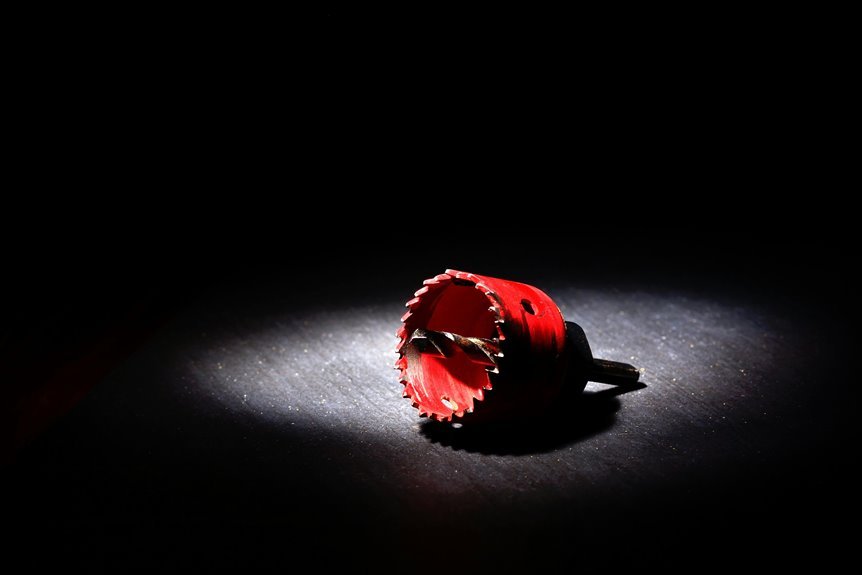
Third, once you’re through the tile, switch to a wall-appropriate bit and drill to your exact depth.
Pay attention to the finishing touches, as they distinguish quality work from careless drilling.
Step 1: Mark Your Spot and Choose the Right Bit

Step 1: Mark Your Spot and Choose the Right Bit
Ready to get started? First, grab a marker and identify your marking point on the ceramic tile surface—precision here saves you headaches later. Next, apply masking tape over that spot; this prevents slipping and annoying chips. Double-check your measurements after taping because mistakes happen.
Now for bit selection. You’ll want a carbide-tipped bit, not a standard drill bit that’ll bounce around uselessly on tile. The right tool provides better results. When you’re ready to drill, start with a pilot hole using low speed and continuous pressure—think gentle and steady, not aggressive. Keep cooling water nearby to spray on your bit, preventing overheating and keeping everything sharp.

OPTIMIZED FOR DRILLING IN HARD MATERIALS: For fast, precise work in porcelain tile, marble tile, granite tile and more.
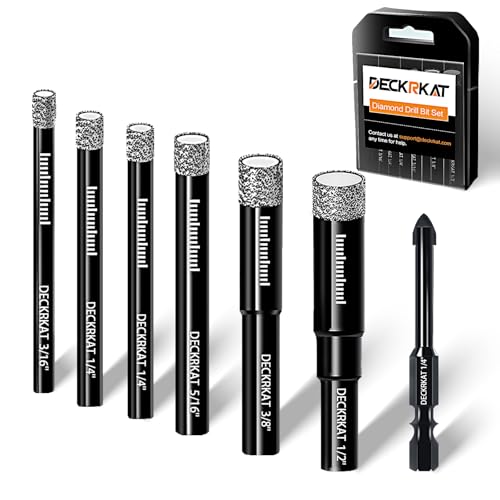
Complete Set of Diamond Drill Bits: This 7-pack includes sizes 3/16", 1/4" (X2), 5/16", 3/8", 1/2", and 1/4" Masonry Bit making it great for a wide range of drilling needs, including glass, tile, ceramics, stones, and masonry brick.

PRECISION: Features Bosch’s unique product design with a precision tip to help solve any bit wandering orbit walking
Step 2: Drill Slowly With Water Cooling

How’s your patience holding up? Here’s where slow and steady wins the race. I start my low speed drilling at 400–600 RPM for porcelain, maybe 600–900 RPM for ceramic tile—seriously, no rushing. I grab my diamond-tipped bit, apply steady pressure, and keep things cool with water cooling using my spray bottle. Every 10–15 seconds, I pause to check the temperature, no, really, this prevents cracking and saves frustration.
That masking tape I applied earlier? It keeps my bit from slipping on the glaze. I spray water continuously throughout—it’s like giving your tile a refreshing drink while you work. This whole process feels meditative, actually. Once I’ve drilled through, I’ll switch to a substrate bit for tile safety and deeper drilling. Patient work always pays off.

SMALL DRILL BIT: Hole diameter: 8mm(5/16"),total length: 50mm(2").Package includes 15 pcs 8mm diamond hole saw drill.

Use the QEP 5/16 inch Diamond Hole Saw Kit to create holes for bathroom pipes in various tile surfaces.

HIGH-QUALITY MATERIALS:Made of Premium carbide YG6X alloy with anti-rust treatment and a reinforced head prevents bit cracking and provides a longer life.
Step 3: Finish Drilling Into the Wall

Once you’ve broken through that tile layer, what comes next? I switch to a substrate appropriate bit—this is where the real drilling happens. I continue with light pressure and intermittent water cooling to keep things from overheating, which improves your through-hole finish. I drill to the exact hole depth I need, insert my wall plug, and secure my fixture carefully. Here’s the thing: I avoid over-tightening because that’s how you crack ceramic tile after all your hard work. Once I’m done, I inspect everything closely, clean the drilled area thoroughly, and fill any minor cracks with epoxy resin. These finishing touches result in a professional-quality hole.

【Longer Durability】- The UHMW plastic adhesive tapes has longer wear life than Nylon and PTFE.
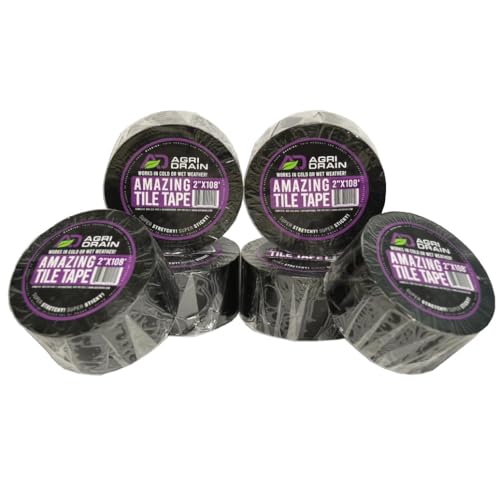
Durable PVC Construction – Built to Stretch and Conform: Made from tough, stretchable PVC, Amazing Tile Tape flexes and forms around uneven surfaces, creating a secure and long-lasting seal.

Engineered for rough, textured surfaces like brick, concrete, and stucco for sharp, clean paint lines


