
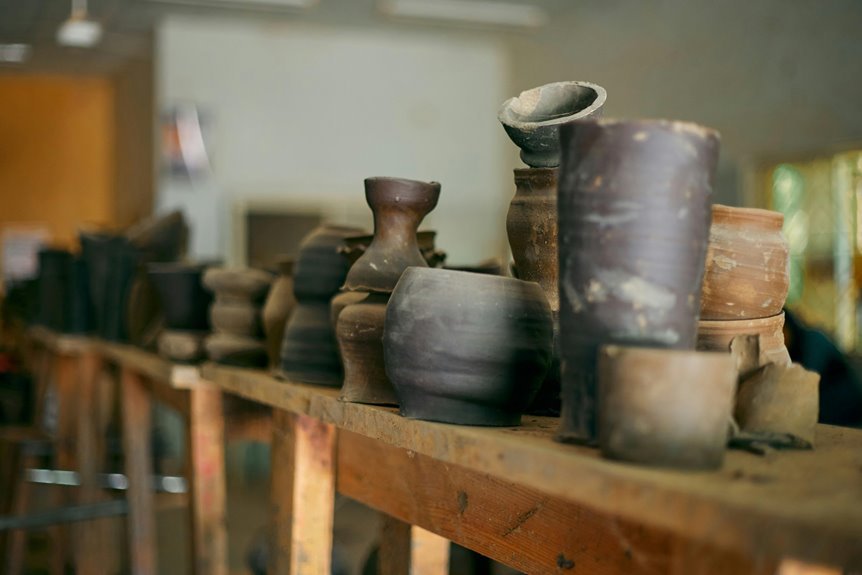
Greenware is unfired clay that’s been shaped and dried—it’s basically your ceramic project before it goes into the kiln. I know it seems solid when it’s bone-dry, but it’s actually fragile because water is holding it together.
Once you fire it, those clay particles fuse into something rock-hard and permanent.
Until then, you’re working with something that’ll crack if you’re not careful, rewet easily, and can be recycled if things don’t work out.
Stick around to discover how to keep your greenware intact.
Definition: Unfired Clay Before Its First Kiln Firing

Think of greenware as clay’s awkward teenager phase—it’s got the right shape and looks promising, but it hasn’t quite grown into its final form yet. I’m talking about unfired clay that you’ve shaped and dried, but haven’t thrown into a kiln. This stuff can exist in tons of moisture states, no, really—anywhere from wet to bone-dry—yet it stays completely unchanged until firing happens. The tricky part? It’s fragile right now because those molecular bonds haven’t locked in yet. You’re working with clay that’ll crack, warp, or shatter if you sneeze too hard nearby. Here’s the useful part though: if you catch it before firing, you can actually rehydrate and recycle it back into usable clay. That’s a genuine second chance.

Practical set: You will acquire 3pcs precision tip bottle, 3pcs funnels, 48pcs needles - screw bases 8 sizes from 14 to 24, 3pcs metal connectors, worthwhile for your hobby...
Why Your Greenware Breaks So Easily

Even something as innocent as moving a piece without proper support or letting it dry too fast can destroy your careful work into a pile of ceramic confetti.

500G broken ceramic tile: Our 500g bulk broken ceramic tiles offer far more abundant supplies than smaller packages of tiles. They’re perfectly tailored for customers with...
Lack Of Chemical Bonds
The freshly molded clay piece falls apart at the slightest nudge because what’s missing is fired ceramic bonds. Your unfired clay depends entirely on moisture and weak molecular attractions, not the sturdy crystalline networks that kiln firing establishes. Without that heat-driven reaction, particles just cling together loosely, like friends holding hands without a firm grip.
| What Holds It | Greenware | Fired Ceramic |
|---|---|---|
| Binding Force | Water & weak bonds | Glassy, fused structure |
| Strength | Extremely fragile | Rock-solid durability |
| Stability | Prone to cracking | Kiln-stable |
Moisture serves as a temporary glue, but there’s a problem: as water evaporates during drying, internal tensions spike, warping and fissures develop, and micro-cracks form from uneven shrinkage. You’re working against physics itself. That’s why handling greenware requires the gentlest touch imaginable.
Moisture-Dependent Structural Integrity
How much water does it take to hold your creation together? More than you might initially realize. Your greenware fragility depends almost entirely on moisture, which acts like an adhesive between clay particles. As moisture loss happens during drying, internal tensions build up inside your piece—particularly during that difficult stage between damp and leather-hard. Uneven drying is your primary concern. When the surface dries faster than the interior, you have conditions for warping, cracking, or sudden breakage. Thin-walled pieces and larger works suffer most because they dry at different rates across their surfaces. The positive aspect? You can rehydrate minor cracks, though repeatedly wetting and drying weakens everything. Understanding this moisture dependency helps you handle your greenware with appropriate care.
The Five Drying Stages of Greenware

Once you’ve shaped your clay into something wonderful, the real journey begins—because here’s the thing: how your piece dries is just as important as how you made it. You’re not done yet, and honestly, this part’s where patience becomes necessary.
I’ve learned that understanding your clay’s moisture levels significantly affects your results:
- Wet stage – your fresh clay is soft and workable, perfect for adding slip
- Leather-hard – ideal for joining pieces and carving details without damage
- Bone dry – completely ready for firing, though incredibly fragile
Each stage requires different handling. Rush drying, and you’ll crack your work. Move too slowly, and you’re waiting forever. The balance between speed and caution? That’s where your creativity thrives, and where you’ll actually finish pieces you’re proud of.
Smooth white mid fire clay


Leather-Hard: The Sweet Spot for Shaping and Joining

Between the workable wetness you started with and the fragile bone-dry stage lies leather-hard—and honestly, this is where things come together. At this sweet spot, your clay’s set up enough that you can shape, carve, and trim without it collapsing, yet it’s still cool and flexible enough for joining pieces together. Attaching a handle to your mug? Leather-hard works well for this task. The clay cooperates without cracking, striking that perfect balance between stability and workability. Just remember—and no, really, this matters—the clay can stretch if you’re too aggressive, creating small tears. Since pieces are still somewhat fragile, keep them supported and handle gently. This stage won’t last forever, so work intentionally while you’ve got this window of opportunity.
Bone-Dry Greenware: Preparing for the Kiln

Once your piece reaches the bone-dry stage, it’s very fragile—all that water’s gone except what’s locked into the clay itself—so you’ll want to handle it with care, wearing gloves and maybe a dust mask since the dry clay throws particles around. Here’s the thing: you can’t add water and reshape it anymore, which means any fixes need to happen way earlier when it’s leather-hard, so make sure you’re happy with your form before it gets to this point. Getting your greenware to the kiln without cracks or breaks is important, because once you fire it at those high temperatures, the bisque firing locks everything in place and changes it into something that’ll finally hold glaze.
Fragility And Structural Integrity
Why does your carefully crafted pot suddenly feel like it’s made of glass? When your piece reaches bone-dry stage, it’s extremely fragile and demands your utmost care. Here’s what’s happening:
- Nearly all moisture has evaporated, leaving only molecular water bonded to clay
- Your pot becomes brittle and loses its flexibility—no, really, even gentle pressure can cause cracks
- Any small surface flaw can grow into bigger problems during firing
This stage tests your patience. You’re so close to the kiln, yet your structural integrity depends on handling your piece with care. Support it properly, move slowly, and avoid any stress. Think of it as the final hurdle before firing. Your kiln day awaits.
Moisture Loss And Readiness
How do you know when your piece has truly reached that bone-dry stage? Your greenware tells you through subtle signs. When all free moisture has evaporated, leaving only molecularly bonded water inside, you’ve hit the target. I watch for that slight color change—pieces become noticeably lighter and slightly paler.
Here’s the tricky part: handling requires genuine care. At this stage, your creation is fragile, so I support it fully and avoid rough contact. Even moisture from your hands can cause damage.
Before firing, I always do a final check for hidden cracks or lingering dampness in thick sections. Slow, even drying prevents warping, but some pieces surprise you with stubborn moisture pockets. Once you’ve confirmed everything’s truly ready, you’re prepared for the kiln.
Handling Before Bisque Firing
Now that you’ve confirmed your piece is truly bone-dry, the next challenge isn’t about waiting anymore—it’s about moving it without causing disaster. Greenware is brittle, and one wrong move could mean starting over. Here’s how to handle it:
- Use support surfaces like wooden boards or soft cloth instead of holding pieces directly
- Minimize finger contact to prevent surface dust and tiny cracks that’ll cause kiln failures
- Move slowly with both hands, cradling the piece carefully
Gentle greenware handling prevents heartbreak. Even slight distortion or stress creates microcracks you won’t see until firing. Support your work properly, and you’ll reach that satisfying moment when your piece emerges from the kiln in good condition.
Prevent Cracks and Warping: Common Mistakes to Avoid

Patience is necessary when working with greenware, and rushing the process invites problems. Controlled drying in a steady environment prevents most issues. Remove moisture gradually and evenly, avoiding dramatic temperature swings that cause warping and cracks. When handling greenware, provide gentle support—minimal touching keeps surface marks at bay. Keep pieces around a quarter-inch thick so they dry uniformly; thicker sections shrink differently and crack. Watch out for excess moisture trapped in molds, which creates hidden problems. Slow and steady progress yields pieces that emerge crack-free and ready for firing.

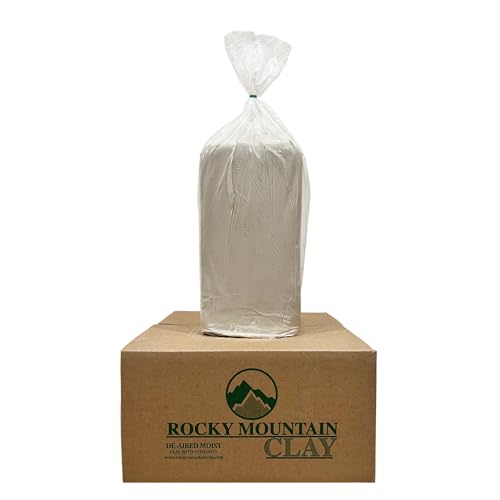
25 Pounds of Moist de-Aired Pottery Clay

50 Pounds of Moist de-Aired Pottery Clay
25 Pounds of Moist De-Aired Pottery Clay Bags
Cleaning Greenware Safely

Why does cleaning feel like the most tedious part of working with greenware—yet it’s absolutely necessary? I get it, no, really. This monotonous step separates serious potters from casual dablers. Here’s my process for greenware cleaning that actually works:
Greenware cleaning separates serious potters from casual dabblers—this monotonous step is absolutely necessary for success.
- Use an Exacto knife for sharper, smoother seam work compared to standard tools
- Apply minimal water control while gently rubbing seams with your fingers to prevent damage
- Wait a full day, then recheck for missed areas before moving forward
I’ll be honest—that waiting period feels annoying, but it’s worthwhile. Your eyes catch spots you missed initially. For smoothing seams safely, use cleaning pads sparingly; they scratch easily. A scriffo tool reshapes edges beautifully when needed. We’re building something worth protecting, and proper greenware cleaning sets everything up for success.
Salvaging Mistakes: Rehydrating and Recycling Greenware
Even with the best cleaning techniques, sometimes your greenware still cracks, warps, or breaks—and that’s okay, because you don’t have to throw it away. I’ve learned that rehydration is an effective tool here. By soaking dried pieces in water, you’ll regain that workable plasticity needed for reshaping or repair. You can press-fit broken seams back together, salvaging pieces that seemed lost.
| Stage | Best For Rehydration | What You Can Do |
|---|---|---|
| Leather-hard | Excellent results | Reshape easily |
| Bone-dry | Works well | Repair cracks |
| Highly fragile | Challenging | Handle carefully |
| Slip consistency | Perfect | Reclaim fully |
Reclaiming greenware into slip or remixing it into new clay bodies stretches your creative possibilities. Sure, repeated cycles affect texture and performance, but honestly, you’re learning resourcefulness. That’s the maker’s mindset.
Is Your Greenware Ready to Fire?
One of the trickiest moments in ceramics comes when you’re staring at your piece and wondering, “Is this actually ready to go in the kiln, or am I about to watch it explode?” The key point is that greenware needs to be completely bone-dry before firing, which means all that moisture has to vanish, and your clay can’t be soft or bendable anymore.
Check if you’re ready by looking for these signs:
- Your piece feels light and sounds hollow when tapped
- No moisture appears on the surface, even in corners
- The leather-hard stage is completely gone—it’s rock-hard now
Drying matters greatly; slow, uniform drying prevents cracks and distortion. Rush it, and you’ll regret it. We’re all in this together, learning what works best for our pieces.
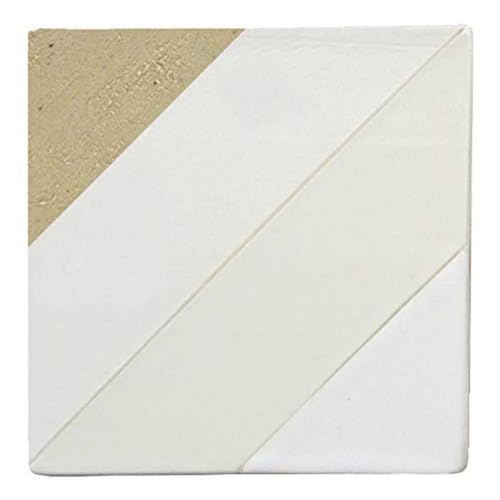


White stoneware clay that has some characteristics of porcelain


