
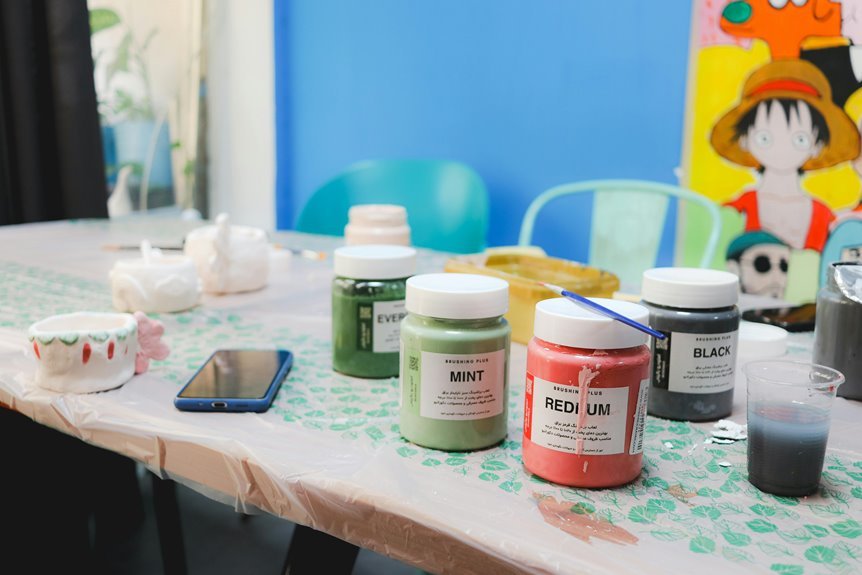
Repainting ceramic is easier than you’d think.
First, clean and sand your piece—get rid of that glossy finish so paint actually sticks.
Next, apply primer, sketch your design, then paint thin coats in zigzag sections; avoid heavy layers.
Finally, cure it in a 350°F oven for thirty minutes, let it cool, then wait a few days before using it.
Seal it for extra protection, and you’ll have a professional-looking piece.
There’s more to consider for that perfect finish, though.
Clean and Sand Your Ceramic Surface

It’s got this slick, shiny surface that paint absolutely hates, so we’ve got to strip that away first. I start by thoroughly cleaning with water and a good cleaner, scrubbing away dust and oils that’ll sabotage our whole project. Once it’s dry, I grab sandpaper (180–220 grit works great) and sand the ceramic surface to remove that glossy glaze and create tiny microabrasions that help paint stick around. This prep work is important. I work until the surface feels rough to my touch, which tells me adhesion will happen. After sanding, I wipe everything down with a damp rag, let it dry completely, and then I’m ready for primer. That dry surface? Non-negotiable.

Dura-Gold Premium 180 Grit PSA Purple Film Ceramic Longboard Sandpaper Roll, 2-3/4" Wide Continuous 20 Yard Roll. This high-performance film-backed longboard sanding sheet roll has a PSA pressure-sensitive adhesive backing and an easy-to-peel-off backing liner to protect the adhesive backing. These PSA sanding sheets securely attach to a wide variety of tools, including pneumatic air file sander shoes, firm or flexible longboard file boards, hand sanding blocks, Dura blocks, and more.

Superior Ceramic Grain Technology: Engineered with high-performance ceramic grain, these sanding discs cut 40+% faster and last longer than conventional abrasives, making them ideal for heavy-duty sanding and production environments.

Dura-Gold Premium 180 Grit Purple Film Ceramic Longboard Sandpaper Roll, 2-3/4" Wide Continuous 12 Yard Roll with a Hook & Loop Backing. These high-performance film-backed longboard sanding sheets have a hook & loop backing that securely attaches to a wide variety of tools, including pneumatic air file sander shoes, firm or flexible longboard file boards, hand sanding blocks, dura blocks, and more.
Prime, Plan Your Design, and Paint in Thin Coats

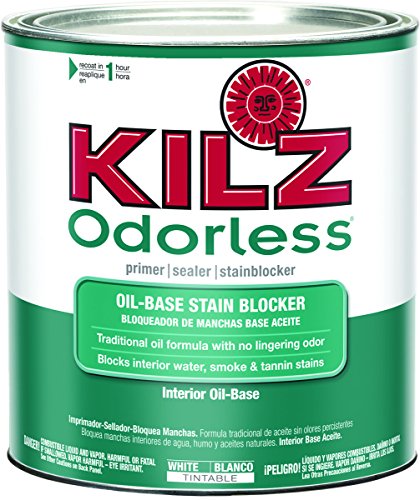
Now that your ceramic’s prepped and ready, primer’s your next best friend—it’s the glue between that sanded surface and the paint you’re about to apply. I’m applying two light coats of oil-based bonding primer, letting each one dry completely before the next.
Here’s where the work happens:
- Plan your design by sketching ideas on paper first, then decide if you want vertical lines for tall pieces or horizontal strokes for shorter ones
- Let layers dry between coats according to product directions—patience here prevents messy mistakes
- Use the zigzag technique in small sections, applying thin coats that build durability without looking thick or clumpy
Once everything’s fully cured, I’m adding a gloss sealant for a durable finish.

Get ultimate hiding power indoors and out with Zinsser Cover Stain Primer
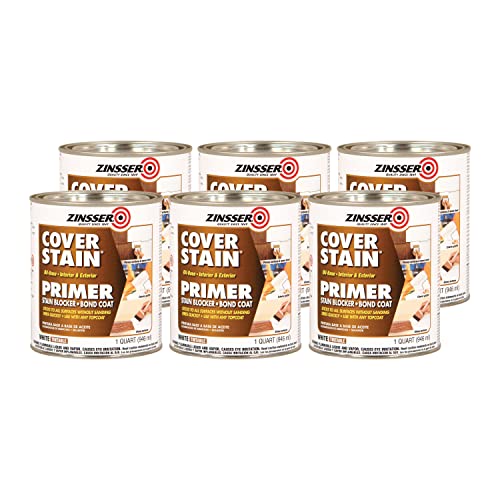
High-hiding formula blocks most stains and helps seal water, smoke and nicotine stains
Seals and blocks interior stains and odors
Cure, Dry, and Seal for Protection

Why does curing matter so much? Well, skipping this step means your ceramic paint won’t fully harden, and honestly, that’s just asking for trouble. I bake my painted pieces in an unheated oven at 350°F for 30 minutes to cure properly, then let them cool completely. Next comes dry time—I wait 2–3 days before using anything, no, really. For food-contact items, I use non-toxic paint exclusively because safety matters. If I’m adding a dishwasher-safe sealant or epoxy coat for extra protection, I give that another 2–3 days to cure fully. That extra patience results in durable work that lasts. The sealant creates water resistance that keeps everything looking fresh longer, making all that effort worthwhile.


