
I’ve found an effective method for making acrylic paint adhere permanently to ceramic, and it’s straightforward. You’ll clean your piece, apply thin paint layers (letting each dry fully), then bake everything at 350°F for 30 minutes. The heat locks the paint in place. After slow cooling, seal it with a clear coat for added protection. Follow along, and I’ll walk you through each step so your designs last.
Why Heat Locks Your Paint in Place

When you bake acrylic paint on ceramic, you’re creating a permanent bond between the paint and the surface. Heat-curing doesn’t just dry your artwork; it fuses bakeable paints directly into the ceramic material itself. When you dry thin layers first, then apply heat in your oven at around 350°F for thirty minutes, the temperature control causes the paint molecules to bond tightly with your ceramic surface so that chipping and peeling become nearly impossible. This adhesion is what separates a casual craft project from something durable. Unlike air-dried finishes that sit on top, heat-curing locks everything together. Oven baking converts temporary decoration into lasting protection.
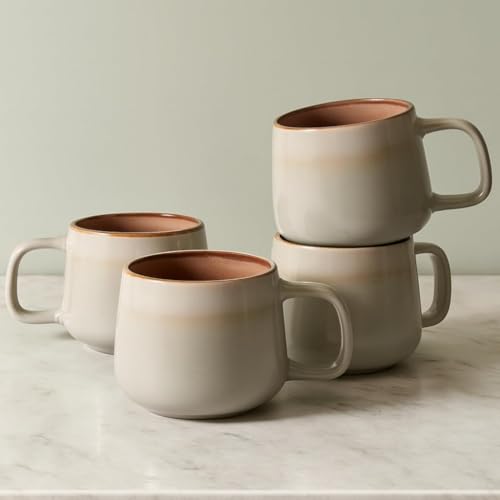
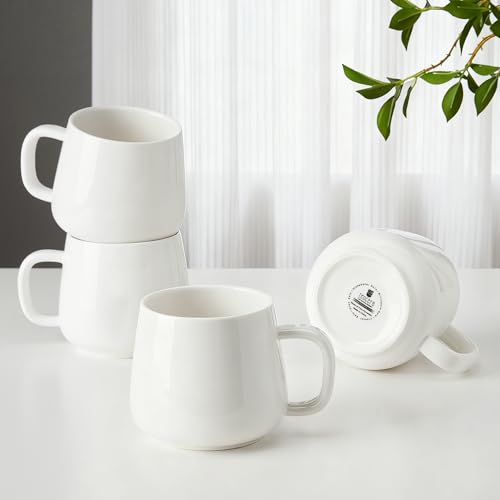
Perfect Mugs for Your Daily Rituals: Sip your favorite coffee, latte, or tea in style with our 12 oz Ava Nord stoneware coffee mugs. Designed with a comfortable grip and stackable feature, these mugs elevate your daily moments while saving space in your kitchen.

Casseroles, Crisps & More: Perfect for cooking up personal pot pies, stews, pastas, and we especially love using them to serve fruit crumbles.

WHITE SUBLIMATION MUG FOR THE ARTIST IN YOU - With a pop of color on the inside and a blank white surface on the outside, the Cricut Ceramic Coated Mug allows you to transfer your favorite designs seamlessly. Includes a ready-to-gift box
Gather Your Ceramic Painting Supplies

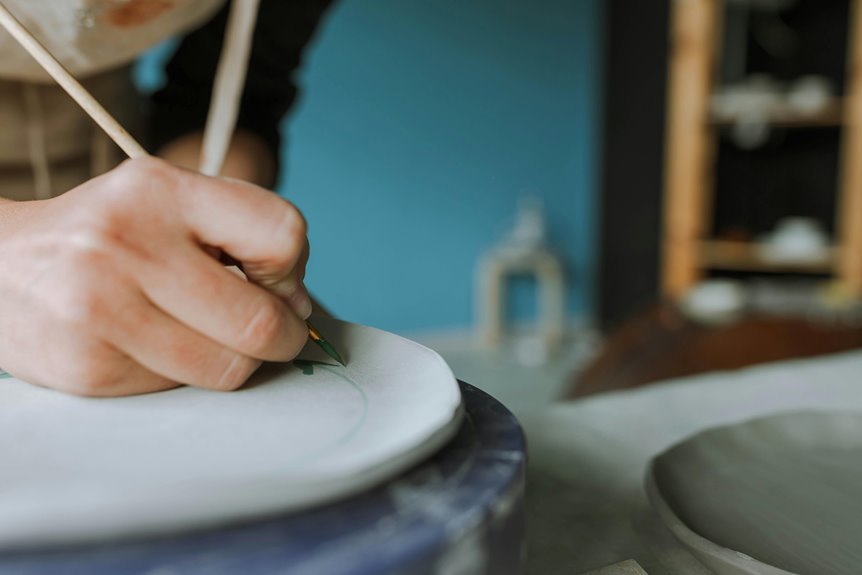
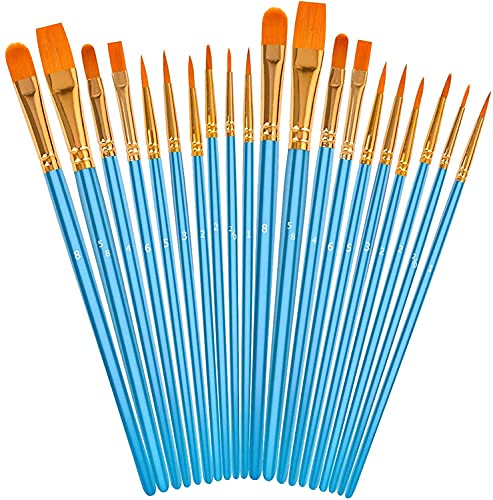
Before you start painting, you’ll want to gather the right supplies—having everything ready makes the whole process smoother. Pick out your ceramic base (a mug, plate, or tile works well), grab some high-quality, non-toxic acrylic paints like Drawlish, and round up a few brushes in different sizes so you can handle both big areas and tiny details. Getting your materials organized beforehand means you won’t be stuck halfway through a brushstroke hunting for that smaller brush you know you have somewhere.

Suitable for brushing - airbrushing or screen-printing

VIBRANT ACRYLIC PAINTS : Shuttle Art 16 Acrylic Paint Set consists of 16 vibrant assorted colors and with BONUS 3 FREE PAINT BRUSHES. Each tube is filled with 12 ml (0.4 oz) paints with rich pigments that are professional artist quality

36 VIBRANT COLORS : Shuttle Art 36 colors acrylic paint set contains 36 unique colors highly pigmented paints, including classic metallic gold and silver colors, also comes with 12 brushes and 1 palette, when you receive this art painting kit you can paint right way
Essential Materials and Tools
What do you actually need to personalize a ceramic piece? Gathering the right supplies will help you create something you’ll love.
Before starting, gather these materials:
- An oven-safe ceramic base—a mug, plate, or tile works perfectly for baking your design
- High-quality, non-toxic acrylic paint (Drawlish is my go-to brand) that adheres well to ceramic surfaces
- Various brushes for different details, plus a standard kitchen oven for the baking process
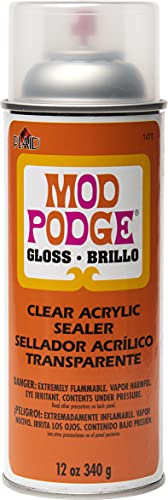
Before painting, clean your ceramic piece thoroughly and let it dry completely—this improves adhesion. After baking and cooling, apply a clear acrylic sealer for extra protection and shine. Quality materials will help you work more effectively and produce better results.
Quality Paint Selection Matters
Why does paint choice matter when you’re personalizing ceramics? Because not all acrylic paints stick equally well to ceramic surfaces, and you’ll want results that last. I’ve learned that high-quality brands like Drawlish offer superior adhesion and safety, especially when you’re planning to bake your finished pieces. The right paint provides your foundation for success.
| Paint Type | Best For |
|---|---|
| High-quality acrylics | Durability and adhesion |
| Primer or medium | Glazed surfaces |
| Bake-compatible paints | Heat-set finishing |
| Budget options | Testing only |
| Professional brands | Lasting results |
When selecting acrylic paints, prioritize baking compatibility and manufacturer guidance on bake times. Pair quality paint with proper prep—primer on glossy glaze really helps. Your ceramic project deserves paint that’ll stick around, literally.
Preparation Before You Start
Getting your supplies ready is half the battle—I’ve learned this after scrambling mid-project for a missing brush or realizing my workspace wasn’t quite clean enough. Before you begin painting your oven-safe piece, gather these essentials:
- High-quality acrylic paints with various brushes for detailed work and paint pens for precision
- Rubbing alcohol to clean your ceramics thoroughly, plus a water container for rinsing between colors
- Protective surface coverings and a clean, dust-free workspace to prevent spills
Plan ahead. Your acrylic paints need air dry time—at least 24 hours before you bake anything. Having everything organized means you won’t interrupt your creative flow, and with a clear sealer optional afterward, you’re setting yourself up for success from the start.
Clean, Sand, and Prime Your Ceramic for Better Paint Adhesion

I’m going to walk you through the surface prep steps—and it’s straightforward. First, give your ceramic a thorough wash with soap and water to remove oils and dust. Then, depending on whether you have a shiny glazed piece or raw bisque, decide if light sanding with fine-grit sandpaper suits your project, since that glossy finish won’t grip paint without being dulled down. After wiping everything clean and dry, consider whether a primer or clear acrylic medium is worth the extra step—it usually is—because these surface treatments do prevent peeling and scratching later on.

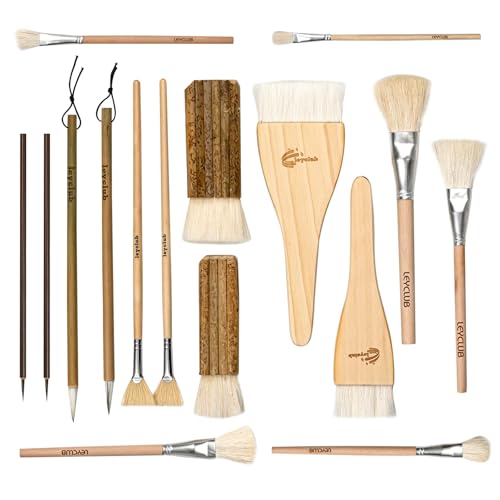
【All sizes of art brushes】: The 10 sizes of multi-functional brushes have various shapes, making the mixing color easier, which is very suitable for artists, students, teenagers, children and painters at all levels. Wonderful Present ideas for friends and family who like painting!
Great Value Pack Artist Paint Brushes: Soucolor 20 brushes in 10 sizes professional paintbrushes set — no shedding, holds paint well, cleans easily, Acrylic, watercolor, oil, gouache, face painting, rock painting, ceramics. Fantastic High quality gifts for creative, artistic siblings to share!

Premium Ceramic Brush Set: Dive into the world of pottery and ceramic artistry with our comprehensive brush set, meticulously crafted for both professionals and hobbyists alike.
Surface Preparation Essentials
The foundation of any great paint job starts long before you open that acrylic paint bottle—it’s all about getting your ceramic ready. I’ve learned that skipping surface preparation is basically asking for peeling paint later, and that’s not what we want.
Here’s what I do:
- Clean thoroughly with soap and water, then let it dry completely—no shortcuts here
- Sand glossy surfaces lightly with fine-grit sandpaper if you’ve got glazed ceramics; for unglazed bisque, just dust everything away
- Prime if needed with a clear acrylic medium to boost adhesion dramatically
Wipe away that sanding dust, and you’re set. This ceramic surface prep improves how your paint grips, preventing scratches during use. Your future self will appreciate it.
Priming Techniques For Ceramics
Now that you’ve got your ceramic squeaky clean and smooth, it’s time to give your paint the best fighting chance possible—and that’s where priming comes in. I’ve found that applying a primer or clear acrylic medium creates an invisible glue between your glaze and acrylic paint. Here’s the thing: this extra step really does make a significant difference. After you’ve sanded those glossy spots, wipe away all that dust, then brush on your primer in thin, even coats. You’re basically telling your ceramic, “Hey, I’m serious about this.” The primer fills tiny surface gaps, improves adhesion dramatically, and prevents peeling later. This straightforward investment separates amateur work from something you’re proud to display.
Apply Paint in Thin, Even Layers

You’ll want to resist the urge to slap on a thick coat of paint all at once—I know, it’s tempting when you’re excited to see your design come to life, but thin layers work better. When I apply acrylic paint to ceramic pieces, I follow this approach:
- Paint thin, even coats that minimize cracking and bubbling
- Let each layer dry completely before adding the next for proper adhesion
- Build color gradually through multiple passes instead of one thick coat
This layering method improves your work quality. Allowing drying time between applications results in better adhesion and smoother finishes. If texture develops, I sand lightly once dry, then continue. For glazing effects, I slightly thin the paint to achieve those beautiful washes. Many creators have mastered this patient, rewarding technique.
CONVENIENT SIZE - This 12 oz clear acrylic sealer is a must-have to your art supplies

Acrylic sealer spray provide a protective, clear finish

Krylon COLORmaxx GLOSS CRYSTAL CLEAR
Let Paint Dry 24+ Hours Before Baking

Why rush this step when patience is literally what makes the difference? I’ve learned that letting your acrylic paint air dry for a full 24 hours before baking is non-negotiable. Here’s the thing: each layer needs time to feel completely set, so wait between coats. This air dry period prevents moisture from getting trapped under your paint, which would create those annoying bubbles during baking. Whether you’re painting thin layers or thick ones, that 24-hour waiting period maintains proper adhesion to your ceramic piece. Once you’ve hit that mark, your ceramic artwork’s ready for the oven. I know waiting feels tedious, but this patience directly determines whether your baked acrylic paint stays put or peels off later.

VIBRANT ACRYLIC PAINTS : Shuttle Art 15 Acrylic Paint Set consists of 15 vibrant assorted colors and with BONUS 3 FREE PAINT BRUSHES. Each tube is filled with 12 ml (0.4 oz) paints with rich pigments that are professional artist quality

Artist Grade: Highest Quality Raw Materials are selected to make our Acrylic paint set. They are uniquely formulated to ensure the best quality with a fantastic consistency for easy mixing and blending. Our paint glide on smoothly, dry quickly, Non fading and last long.The craft paint set is great to produce true, consistent shades on painting art, ideal for professional artists, young aspiring artists, painting lovers.

NICPRO ENAMEL ACRYLIC PAINT SET: Complete 18-color set (1 oz bottles each) including White, Orange, Sky Blue, Spring Green, Violet, Caribbean, Burnt Sienna, Red, Ochre, Pink, Ultramarine Blue, Sap Green, Burnt Umber, Mars Black, Lemon, Metallic Silver & Gold. Comes with 6 bonus brushes, 1 palette, and beginner-friendly instructions so you can start painting right away.
Bake at 350°F for 30 Minutes

Once that paint’s completely dry and you’re confident it won’t budge, your oven becomes your best friend for locking everything in place. Here’s what I do to bake my ceramic pieces:
Once paint’s completely dry, your oven becomes your best friend for locking everything permanently in place.
- Preheat my oven to 350°F, giving it time to reach that perfect temperature
- Place my oven-safe ceramic piece inside carefully, making sure it won’t tip
- Set a timer for exactly 30 minutes while the heat works its hardening process
The acrylic paint hardens during baking, becoming permanent and very durable. I always double-check that my ceramic is oven-safe first—no, really, it matters—to avoid any disasters. After those 30 minutes finish, I let everything cool slowly inside the oven itself. This prevents temperature shock that could crack your work. Once cooled, I sometimes add a non-toxic sealant for extra protection and shine.

Marble-patterned mug-Each cup has a different pattern and color.Each cup is decorated with elegant, unique, and Beautiful yet distinctive patterns

COMPLETE CERAMIC PAINTING KIT – Everything you need in one box to paint your own ceramics at home. Includes 4 white ceramic mugs, 8 paint pots (Red, Yellow, Green, Blue, Purple, Gold, Silver & Black), and 4 paintbrushes — no extra supplies needed to get started right away.
JUST THE RIGHT SIZE - Either you are enjoying a morning coffee at home, a coffee break at the office or you have friends over and serving tea, this set of four 12 oz porcelain mugs is the perfect option.
Cool Your Baked Ceramic Slowly
Turning off that oven and letting your ceramic piece sit inside as it cools down gradually. Yes, you want to see your work, but this step matters for glaze cracking prevention.
When you cool inside the oven, you’re giving your baked acrylic paint and dried acrylic paint time to settle without shocking the ceramic. Gradual cooling reduces stress on that painted surface, making everything more durable and long-lasting. Don’t rush it; keep your piece in that oven cooling environment until it’s completely cool to touch.
This oven cooling process prevents those frustrating cracks that happen when things cool too fast. Your patience here is worthwhile.
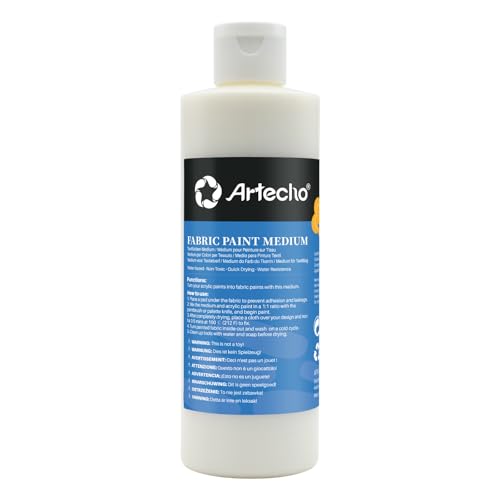
Turn Your Acrylic Paint Into Fabric Paints: Artecho premium fabric paint medium 8oz / 236ml, water based, non-toxic. The bottle mouth is sealed,ensuring safety and leak-proofness

VERSATILE, CONVENIENT ACRYLIC PAINT KIT - This multi-surface acrylic paint set includes 12 - 2 oz bottles of acrylic craft paint. The colors in this set include: Apple Barrel Multi-Surface Outrageous Orange, Black, Princess Purple, Chocolate Sprinkle, Primary Blue, White, Atlantis, Candy Apple, Timeless Gray, Paradise Pink, Lemon, and Clover Fields

THE QUALITY SURPRISES EVERYONE! Golden collection of 24x12ml paint set, 12 brushes, a sponge and a mixing art knife for such a low price? Most customers are surprised to see it’s not a cheap art kit… but simply an affordable one. PERFECT AS A GIFT!!!
Protect Your Design With a Clear Seal

How do you keep your beautiful painted ceramic looking fresh and vibrant for years to come? Apply a clear sealer. After your acrylic paint cures from oven curing, applying a protective coat keeps your ceramic painting durable and long-lasting. Here’s what I do:
- Choose a food-safe sealant compatible with acrylic paint
- Apply several thin coats, letting each dry completely between layers
- Wait for full curing before washing or handling the piece
The clear sealer boosts wash resistance dramatically. I appreciate that it enhances color depth while giving me options—glossy or satin finishes, depending on which product I select. For food-contact items, I’m extra careful, making certain everything’s completely cured. Your ceramic painting deserves this protection, and the results are worth the effort.

2 Packs of 10 Sizes Art Brushes: 10 size professional round-pointed paintbrushes with a variety of shapes make MIXING COLOR more easy, perfect for artists, amateurs, students, teens, kids, children and painters of all levels. Wonderful gift idea for your friends and families who have fun in painting! 10 Size: 5/8 8 6 4 5 3 2 2 1 2/0; Length: 17.5 cm to 19.5 cm (6.9 to 7.7 inches).
【Multi Functional】Glaze brushes set suitable for all ceramic painting creation, also used for watercolor, acrylic, and other artistic painting. Especially suitable for pottery and porcelain glazing

BOLD STROKES - 3 pc. Wash brush set provides a range of larger sized brushes made for broad sweeping strokes, washes, glazing, blocking color, base coating or applying finishes. Flat Wash / Glaze brushes let the artist work quickly and efficiently to cover larger areas. Pro Tip: Use the largest size brush to relative to your area to cover. Set includes Original Gold 9550 premium series, sizes: 1/2, 3/4 and 1".


