
Stringing Lights to Decorate Your Pergola: A Step-by-Step Guide
Choose between top mounting for ambient warmth or bottom mounting for focused task lighting. Measure your space carefully, sketch your pattern (crisscross or parallel work great), then secure anchor points without drilling—heavy-duty eye bolts and guide wire kits do the trick. String lights tightly to account for heat stretching, test progressively from your power source outward, and use dimmers to achieve your desired mood. Each step builds on the last, creating an inviting outdoor space that works for your needs.
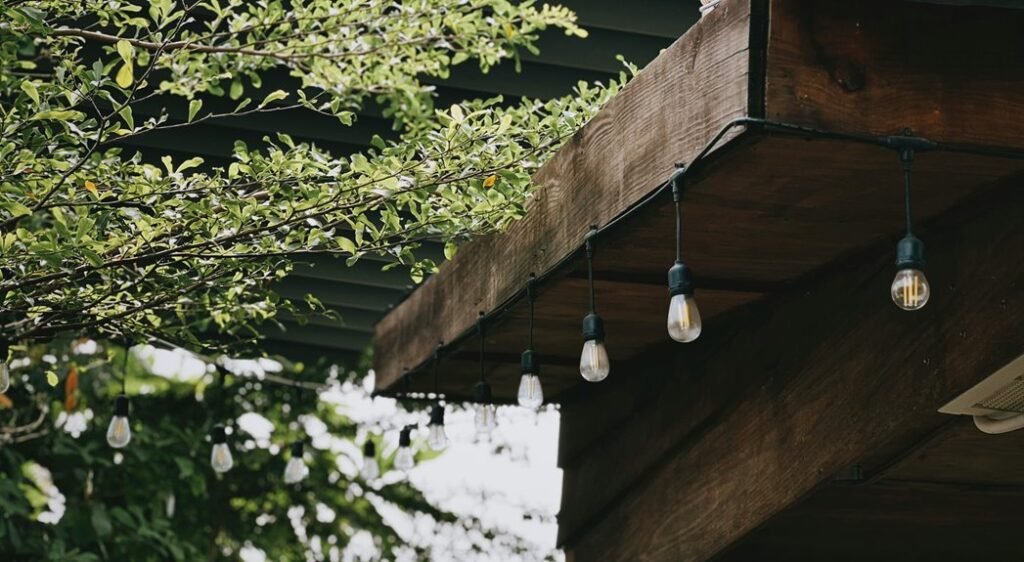
Decide: Top or Bottom Mounting for Your Lights

Where should your lights actually go—up high or down low? Here’s the thing: both work beautifully, just differently. Top mounting creates that dreamy, ambient lighting that makes your pergola glow while protecting bulbs from tall guests bumping into them. Bottom mounting, though, gives you direct task lighting perfect for reading or dining—it’s what most DIY folks choose. I’d say top mounting really highlights your pergola’s architecture, whereas bottom mounting focuses light right where you’re sitting. Honestly? Consider doing both. Combining top and bottom hanging methods maximizes functionality and atmosphere, creating outdoor string lights that work harder for you. Just remember to plan your weather-rated power source nearby before deciding on your light placement. This way, your pergola lighting setup stays safe and visually appealing.

100FT String Lights for Outside: BYGUQ 30 meter outdoor patios lights is perfect for covering expansive areas like patio, gazebos. The same model can be connected up to 200 feet, great for outdoor hanging lights, deck lights, and fence lighting.

With Remote Control (Dimmable) - Allow you to adjust the brightness to your needs: 25%, 50%, 75%, and 100%. You can also choose from three lighting modes: Lighting/Breath/Flash, 3/5 hour timer modes

Breathtaking Italian Bistro Style Lighting : Each strand features 15 vintage-inspired hanging sockets with shatterproof E17 LED edison bulbs, spaced 3.11 feet apart for a captivating, even glow. Enjoy brighter, energy-efficient outdoor lights that enhances every outdoor moment with timeless charm and lower electricity costs.
Plan Your Pergola Layout and Choose Your Hardware

How’s your pergola’s current setup—ready for some serious lighting? Start by measuring your space carefully, because outdoor-rated LED strands need enough length to weave across without stretching tight. I’d grab a tape measure and sketch a rough layout, deciding whether you want crisscross patterns or simple parallel lines.
Next, scout your anchor points—those eye bolts, cup hooks, or removable clips spaced 1–3 feet apart along beams and posts. They’re your load-bearing heroes, distributing weight evenly for wind resistance. Consider canopy mounting if you want that overhead glow while keeping cables organized.
Don’t forget cable management and a nearby GFCI outlet; extension cords need protection too. Check your electrical capacity first—no overloading. This planning phase prevents headaches later.

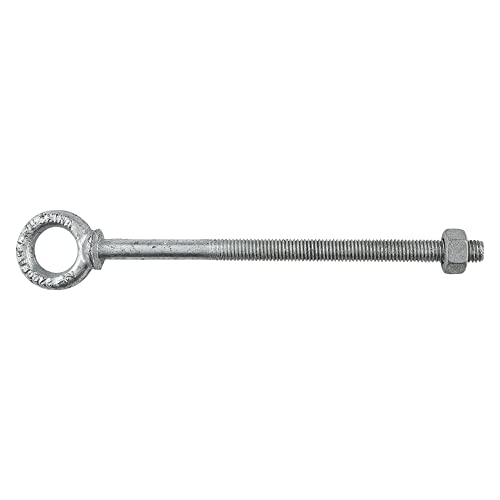
CONSTRUCTION: Forged steel eye bolt with galvanized finish provides superior corrosion resistance and durability for both interior and exterior applications, ensuring long-lasting performance in harsh environments.
Bar code label is color coded to identify wire size

Perfect Quality: Our heavy-duty screw eye hooks are made of premium steel material and coated with anti-rust paint.The screw eyes has excellent corrosion resistance and rust resistance, and can adapt to sleet, extreme heat, rain or humid environment
Secure Anchor Points Without Drilling or Nailing

Ever notice how traditional anchor methods—drilling holes, hammering nails—can actually weaken your pergola’s structure over time? I’ve found that heavy-duty eye bolts and pad eyes create secure anchor points without any damage whatsoever. Here’s what I do: I install these at start and end points, then run a taut wire between them for my light strings. For longer spans, I use stainless steel guide wire kits with turnbuckles and snap hooks spaced every 12–18 inches, which keeps everything aligned beautifully against wind. I attach supports using non-penetrating methods like cable staples or zip ties around beams instead of nails. By placing anchor points at opposite sides for my canopy layout, I minimize visible cords while maintaining proper tension. Then I test everything periodically—especially after storms—to verify my secure installation holds strong.

【Packaging Information】: Including x 30m/100ft vinyl steel cable,5 x M5 Turnbuckle Tensioners,10x M2 Wire Rope Clamp Clip,10 x M2 aluminum sleeve, 10x M2 thimble, 2 x M6 expansion hook ,2 x Spring Snap Hook, 8 x M6 Sheep eye screw hook 65mm, 10x plastic anchors

7 groups of 7 strands are woven into 7x7 construction consisting 304 stainless steel wire rope, provides flexibility,durability,maximum corrosion resistance and excellent protection against surface of wire rope.
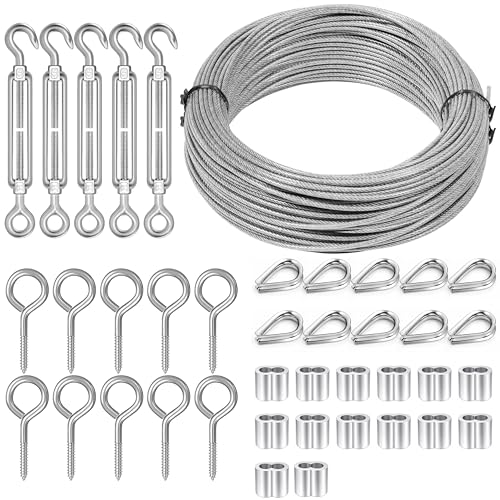
PREMIUM WIRE TURNBUCKLE KIT: Includes 100Ft 1/16 Inch robust stainless steel cable and 5pcs M5 adjustable turnbuckles,10pcs M2 wire rope thimbles, 10pcs M5 screws hooks, and 20pcs M2 aluminum crimping loops designed for secure tensioning in various wire installations; ensures strong, durable support for your projects
Install and Space Your String Lights

Now that you’ve got your anchor points locked down and ready to go, it’s time to actually string up those lights. I measure my pergola first, adding extra length for twisting strands along the rafters. Then I plan a three-strand layout from the central post to each corner, creating that zigzag pattern everyone loves. Here’s the key: I string everything tighter than I think necessary because gravity and heat will stretch things out eventually. I run my weatherproof bulbs from post to corners, then back toward the middle, leaving gaps between for that triangular effect. When I need cable staples for long runs, I place them just before light sockets, never in the middle—that preserves tension effectively.

Dual Outlet Convenience: Power your outdoor tools with ease using the two built-in GFCI outlets. Whether you're using a leaf blower, lawn mower, or electric grill, you’ll have safe and reliable access to power. No need to install extra wiring or wall outlets, saving you time, effort, and installation costs

Advanced Built-in GFCI Outlet: This outdoor porch light builts a GFCI outlet with 2 receptacles, which are suitable for your 2-pronged, 3-pronged plug equipments, providing easy access for your outdoor power supply. Different from other outdoor house lights, this dusk to dawn porch light adopts downward open design, more effectively prevents falling rain into the outlet. It also has additional protection against power surges, short circuits, and other accident electrical faults, protecting your circuit from damage.

Built-in 2 Outlet:The outdoor light with 2 GFCI outlets(ground fault interrupter) , is suitable for two-pronged and three-pronged plugs, easy access to power outdoors with added protection from power surges, short circuits, and other electrical faults. It can protect your circuit from damage. Unlike other outdoor lights on the market, this one has the downward GFCI outlets designed to protect the outlets from rain. (Max power 14.5AWG and Max Load 1080W)
Connect, Test, and Optimize for Ambiance

What’s the point of stringing up all those lights if half of them don’t work, right? That’s why I test everything before calling my project done. First, I locate a GFCI outdoor outlet—it’s your safety net, honestly—and verify the power source works. Then, as I hang my string lights using weatherproof hooks, I test progressively from the source outward. This catches any faulty strands early, saving frustration later. Once everything’s working, I focus on ambiance. I experiment with different patterns: maybe a canopy pattern for a warm, elegant look, or zigzag for playfulness. I adjust spacing until it feels right, then I install dimmers and timers. These tools let me dial in the perfect mood for my pergola, keeping energy costs reasonable while creating that inviting glow everyone appreciates.

【 50ft LED Connectable String Lights 】- This outdoor light comes with 25+2 G40 LED bulbs. Each bulb is 2 feet apart for a total length of 50 feet. It supports an end-to-end connection of up to 14 strings, allowing you to customize the length you need. These lightweight and convenient patio lights are easy to carry and store

Ideal Solar Outdoor Lights: 27 ft long durable Chistmas string lights with 12 LED lights and detachable solar panel with on/off switch located on the back. 20" between bulbs, 6' from solar panel to the first bulb. The lighted portion is 20 feet. LED bulbs last 20,000 hours and solar panel is rated at 1,000 charge lifespan (can last approximately 2.5 years). Direct sunlight is best for a full charge, though you can get some use from charging in indirect light.
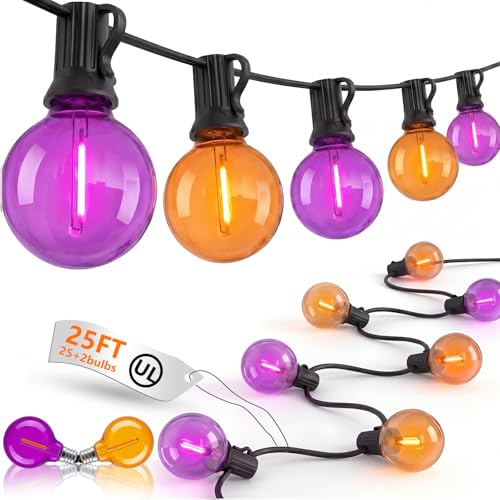
Energy-Efficient LEDs Outdoor Globe Lights: 25Ft G40 led outdoor halloween decorations lights comes with 25 orange purple LED shatterproof bulbs and 2 spare bulbs, C7 or E12 Candelabra base led bulbs, 0.6W/120V, halloween outdoor patio lights providing bright illumination while saving on electricity costs, creating a vibrant glow for your porch, yard, or haunted house party


