
I’ve got five solid strategies for you: first, pick forgiving plants like Pothos or Tradescantia that actually thrive in moist soil.
Second, build an internal drainage base using rocks and charcoal to keep roots elevated away from soggy spots.
Third, try the cachepot method—nest a draining pot inside your ceramic one.
Fourth, water carefully and watch for yellowing leaves or mushy stems.
Finally, if things go sideways, you can rescue overwatered plants or drill drainage holes yourself, though the details on each approach offer useful options.
Pick Plants That Tolerate Moist Soil (Hoya, Pothos, Tradescantia)

What’s the approach to keeping plants happy in pots without drainage holes? Pick the right plants—ones that genuinely tolerate moisture-retentive soil. I’ve found that Pothos, Tradescantia, and Hoya work well here. These three handle consistently moist conditions way better than, say, cacti or succulents (which’ll rot faster than you can say “oops”). Pothos and Tradescantia are forgiving with light too, which actually helps you manage moisture levels in your space. Hoya’s slightly pickier—it prefers drier stretches between waterings—but here’s the thing: it can handle brief moisture excess if you’re careful. The real key? Careful watering combined with quality potting mix prevents root rot. You’re not ignoring drainage; you’re working smarter around it.

Size 6.8" (Desktop Friendly): Medium ceramic plant pot (diameter 6.8", height 5.3") designed for peace lily, pothos, spider plant, ZZ plant, or small snake plant. This 6.8-inch pot fits perfectly on desks, shelves, or windowsills—an ideal choice among flower pots for indoor plants
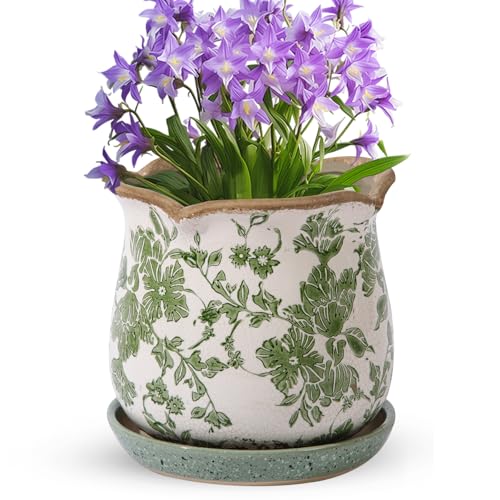
【Exquisite Vintage Aged Design】This planters for indoor plants features rustic ice crack glaze patterns and hand-made brown smudges--unique distressed craftsmanship, which gives it such a unique, antique look, like something you’d find in an old times but it still feels fresh and modern. Due to the production process, the crack and brown smudges of each ceramic flower pot is unique.
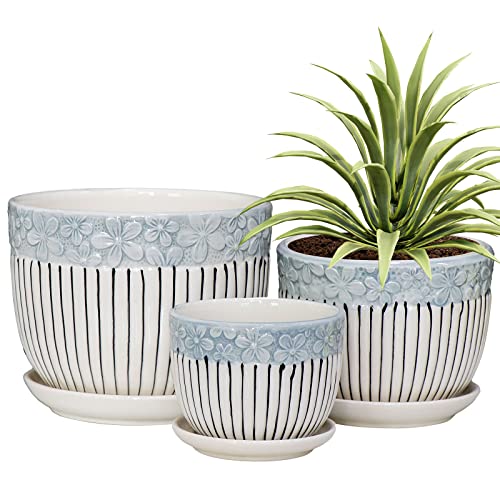
VERSATILE 3-POT SET - Includes large (6.7"D X 5.5"H), medium (5.5"D X 4.2"H), and small (4.2"D X 3.3"H) pots to fit all common houseplants, such as succulents, cactus, aloe, orchids, african violets, snake plants, herbs, pothos, and lilies.
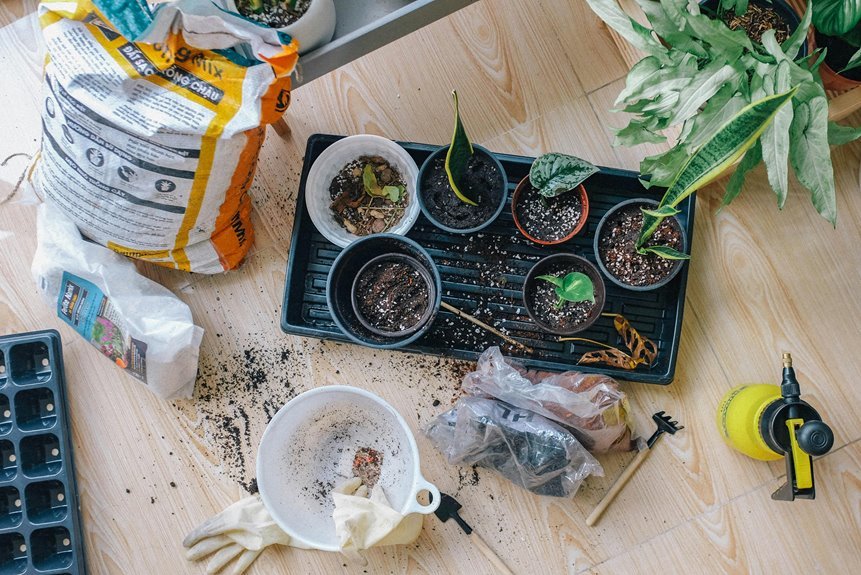
Build a Water-Draining Base: Rocks, Charcoal, and Soil
Now that you’ve picked plants that can actually handle moisture, here’s the smart move: you’ve got to build a fake drainage system right inside the pot. Start by layering 2–3 inches of rocks across your ceramic pot’s bottom, creating a water drainage reservoir that keeps roots away from soggy soil. Next, add a thinner charcoal layer on top—it conditions your potting soil, helps water drain better, and fights odor-causing bacteria. If your pot’s tall, use a fabric liner to stop soil from sinking into the rocks while still letting water move through. These base layers do the heavy lifting, channeling excess water away from your roots. Once you’ve got this setup ready, you’re all set to add potting soil and plant with confidence.


APPEARANCE: Beautiful trailing plant with stunning pink and green variegated leaves that create a vibrant, eye-catching display

Charming Small Leaves: The Tradescantia Fluminensis, also known as small-leaf spiderwort, boasts petite, oval-shaped leaves with a lush green color, adding delicate greenery to any space.
Use the Cachepot Method: Hide a Draining Pot Inside
If you’re tired of worrying about water damage to your beautiful ceramic pot, the cachepot method is a practical solution. Here’s how it works: you place your plant in a drainage pot inside a larger decorative outer pot, creating an effective moisture control system. The inner pot sits on a rocks tray or small layer of rocks, which elevates it and prevents water from touching your cachepot directly. When you water, only that inner pot gets wet while your decorative container stays completely dry. No stains, no root health issues from sitting in water. I check regularly for mineral deposits and refresh things when needed, keeping both my plant and my pretty pot in good condition. It’s a practical approach for ceramic lovers.

All-natural: No artificially ingredients, only nature-sourced ingredients

【Well Drainage】This succulent gritty mix is super well in water drainage, best for drought tolerant succulents and cactus, help your plants grow beautiful colors and also effective prevent rover water
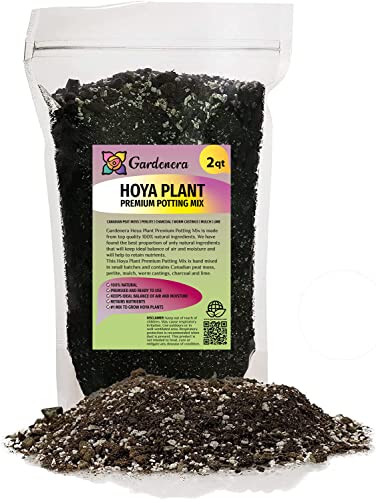
✅ 🌱 Enhanced Growth and Foliage: Our premium potting mix promotes robust growth and lush foliage, allowing your Hoyas to thrive and flourish.
Water Sparingly and Monitor for Overwatering Signs

Since drainage holes are basically your plant’s escape route for excess water, you’ve got to be extra thoughtful about how much you’re actually pouring in—and that’s where most people slip up. I’ve learned that watering sparingly is the best approach for ceramic pots without drainage holes. Fully saturate the soil once, then wait until the top inch or two dries before watering again. This prevents root rot and fungal issues that thrive in soggy conditions.
Watch your plant carefully for overwatering signs—yellowing leaves, mushy stems, and that damp, funky scent. Different species and pot sizes need varying watering intervals, so monitoring soil moisture means observing how your specific plant responds. This moisture monitoring becomes easier once you get the rhythm down.
Mess-Free Dual-Pot System:Decorative cachepot (outer) + clear removable nursery pot (inner) = effortless watering, pruning & repotting. Reusable, easy-clean design perfect for propagation, rotating displays, or nurturing root-sensitive plants. Simplify care—protect surfaces, save time.
Mess-Free Dual-Pot System:Decorative cachepot (outer) + clear removable nursery pot (inner) = effortless watering, pruning & repotting. Reusable, easy-clean design perfect for propagation, rotating displays, or nurturing root-sensitive plants. Simplify care—protect surfaces, save time.

Dual-Pot System: Decorative outer cachepot paired with a clear nursery pot for easy planting, watering, and pruning—clean and hassle-free.
Rescue an Overwatered Plant or Add Drainage Holes

Even with the best intentions, I’ve definitely overwatered a plant or two in a hole-less ceramic pot—and honestly, it’s not the end of the world if you catch it early. When you notice soggy soil or that telltale musty smell, here’s what I do:
- Tilt the pot to drain excess water immediately
- Remove the plant and inspect roots for rot or dark spots
- Add a drainage layer: rocks or gravel (1–2 inches), then horticultural charcoal for moisture balance
- Replant in fresh potting mix with perlite for aeration
You have two solid options: drill drainage holes into your ceramic pot with a ceramic-drilling bit, or invest in pots with drainage. Either way, you’re taking an active step toward better plant care. Your terracotta and ceramic pot care will improve significantly with proper drainage.

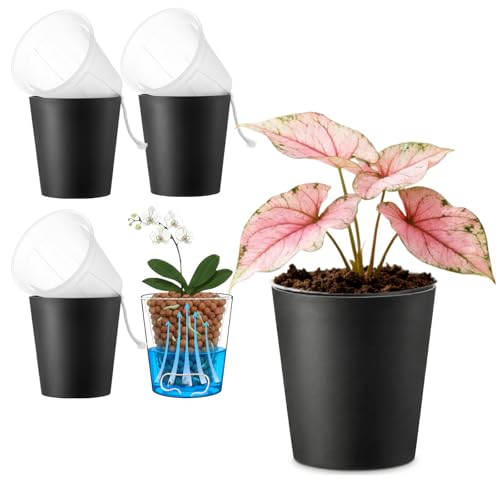
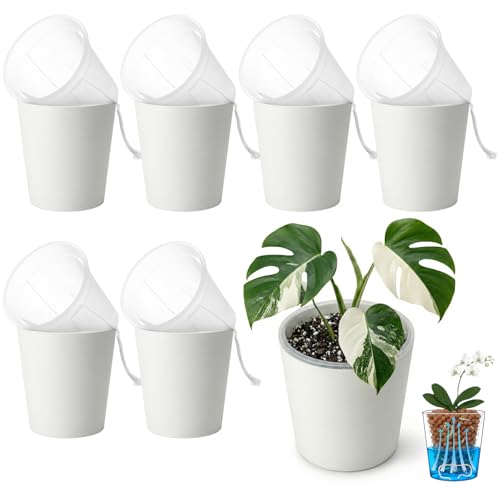
SELF WARERING SYSTEM - This self watering pot has two holes in the bottom, thread the cotton rope through them, and rope will absorb water and keeps the soil moist. Self watering pot has large capacity reservoir is a boon, especially when on holiday, ensuring your plants stay hydrated hassle free.

Ceramic Plant Pot: The ceramic pot is high temperature fired stoneware which are durable and lightweight that convenient for you to use

SELF WARERING SYSTEM - Each indoor plant pots come with two drainage hole and a cotton wick. Put cotton rope from planter to the water to keep the soil moist , keeping plants well-hydrated and thriving,provide an ideal environment for the growth of herbs.


