
A slab in ceramics is basically a flat, thick piece of clay—rolled out to about a quarter to half inch thick—that you shape by hand instead of spinning it on a wheel.
You can fold, curve, and join these slabs together to make bowls, boxes, even little houses.
Unlike wheel throwing, slab building lets you create shapes that would be difficult or impossible to achieve through traditional wheel methods.
The key consideration is joining edges cleanly so no air pockets remain inside, and there are numerous techniques available for making these pieces high quality.
What Slabs Are and Why They Matter in Ceramics

Ever wondered how potters create beautiful bowls and sculptures without touching a spinning wheel? Slab building offers an alternative to wheel-throwing pottery. Instead of using a wheel, we work with thick, flat plates of clay—think of them like dough you’d roll out, except permanent. I roll my slabs to an even thickness, usually about a quarter inch to half an inch, then cut them into shapes. Here’s what makes this technique valuable: we join these pieces together using scoring and slipping techniques that create strong seams, with no air pockets allowed. Whether you’re drawn to geometric patterns or flowing, organic forms, slab building provides expressive possibilities that wheel-thrown pottery cannot offer.

1. HIGH QUALITY MANUAL CERAMIC CLAY PLATE MAKING MACHINE: This manual clay plate making machine is designed to meet the needs of pottery enthusiasts, with a manual turning method, without any electrical machinery.

Enough to Meet Your Diverse Needs: you will receive you will receive 10 pieces of clay tools in 5 different sizes, 2 pieces for each size; Abundant sizes and enough quantity can meet your various needs for making crafts

Wooden Rolling Sticks: The clay tools includes 10 pieces in five different sizes. The variety of sizes makes it easy to get the right thickness for your clay, and they’re super sturdy and smooth.This product is only for adults
Roll and Prepare Even Clay Slabs

When you’re ready to turn a lump of clay into a perfectly flat sheet, you’ve got two main routes: grab a slab roller (the faster, more consistent option if you’ve got access to one) or go old-school with a rolling pin and some sturdy sticks as thickness guides—no, really, those sticks matter because they keep your slab from getting too thin or oddly uneven. I’d recommend rolling in multiple directions, smoothing both sides as you go, and using canvas underneath to prevent your clay from sticking to your work surface like it’s never leaving. The goal here is hitting that sweet spot of about 1/4 to 1/2 inch thick, which gives you a sturdy foundation for whatever you’re planning to build.
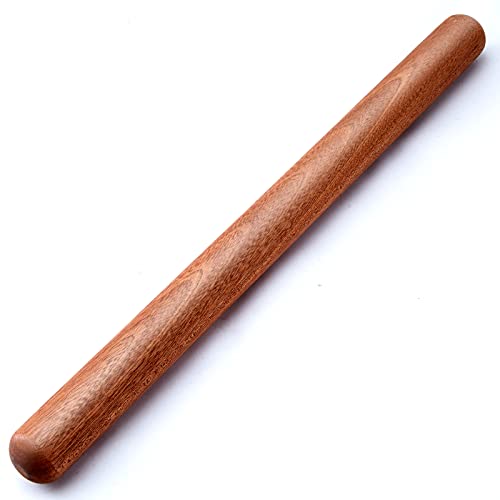
PREMIUM SOLID WOOD - The whole french rolling pin is made of natural original wood, it has no paint, no wax, no burrs and no cracking unlike other beech wood on the market
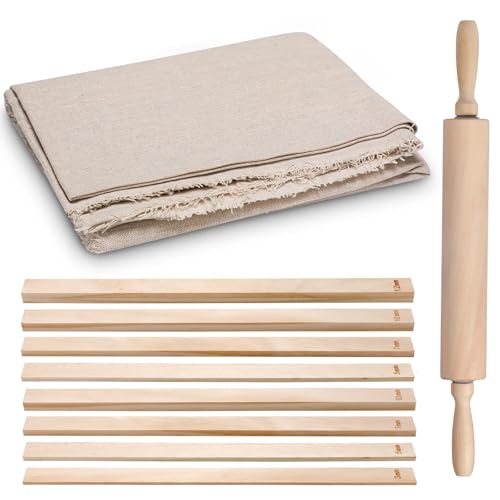
Complete and Quality Material Package: the pottery tools kit comes as a comprehensive set of 12 polymer clay tools; The package includes 1 x wood rolling pin, 1 x cotton linen tablecloth for pottery, and 10 x rolling pin guides; The rolling pins are mainly made from sturdy and reliable wood; This complete set offers not only variety but also quality in terms of material employed, making them sturdy with a comfortable grip

①【Made of high-density wood】 – Meticulously crafted from premium, solid wood, this rolling pin for clay features a multi-polished, ultra-smooth surface that naturally resists sticking, helping to prevent clay from tearing or adhering during use
Slab Roller Technique
Because you’ll want clay slabs that are actually uniform—not thick in one spot and paper-thin in another—a slab roller works well in the studio. Here’s the thing: you set your target thickness, typically a quarter inch, and feed clay between canvas-covered rollers that do the heavy lifting for you. The canvas keeps everything from sticking and protects your work surfaces, which honestly saves your sanity. I roll incrementally in multiple directions, tapering the edges as I go, making sure my clay slab stays only three to four times thicker than my final goal. It’s straightforward, really—just consistent pressure and patience. Once you’ve got that even clay slab ready, you’re prepared for the next step with whatever you’re building.
Rolling Pin Method
If you don’t have access to a slab roller—or you’re just working in your kitchen with what you’ve got—a rolling pin does the job well. Here’s what I do: I cover my work surface with canvas, which keeps my clay from sticking while giving me that smooth finish I’m after. Then I place wooden sticks on either side of my clay to guide the rolling pin and maintain consistent slab thickness of at least 1/4 inch. I roll in multiple directions, smoothing both sides as I go, which helps achieve that even thickness we’re aiming for. Finally, I grab a drywall knife and smooth away any indentations, creating a clean, polished slab. No fancy equipment needed.
Choose Your Slab Stage: Soft vs. Leather-Hard

Once you’ve rolled out your slabs, you’ll face a choice that significantly affects your results: should you work with soft, pliable clay that drapes like fabric over molds, or wait for that leather-hard stage when your slab holds its shape but stays workable? Soft slabs are forgiving for curves and organic forms—they’re basically putty in your hands—while leather-hard slabs give you crisp, stable edges that stick together reliably and won’t warp when you’re joining pieces. The trick is knowing your timeline and environment, because rushing to leather-hard in dry air might crack your slab, but waiting too long in humid conditions could leave you stuck with clay that’s too stiff to bend.

【Multi Functional】Glaze brushes for pottery set suitable for all ceramic painting creation, also used for watercolor, acrylic, and other artistic painting. Especially suitable for pottery and porcelain glazing

Complete 12-piece pottery tool kit includes a clay rolling pin, 10 dual-purpose mud stick guides and a linen work surface, perfect for pottery teaching and ceramic rolling projects.
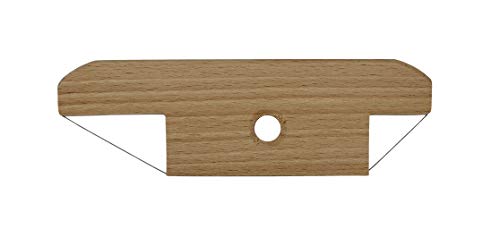
Professional quality clay tool that is designed for a quick and precise cutting of clay at 45, 30 and 60-degree angles.
Soft Slab Applications and Benefits
When you’re ready to shape clay into something truly distinctive, choosing between soft and leather-hard slabs affects what you can actually create.
Working with soft slabs offers distinct advantages:
- You can create flowing, organic forms that feel alive and natural
- Draping and folding happen easily without cracking or resistance
- The clay responds to your hands, bending exactly where you want it
- You’ll develop an intuitive connection with your material
Soft slabs work well for expressive, sculptural pieces. They’re forgiving during the creative process—they actually encourage experimentation. Your ideas flow right through your fingertips into the clay without resistance.
Leather-Hard Stage Characteristics
After your soft slab’s had some time to firm up—usually a few hours, depending on your studio’s humidity—you’ll reach the leather-hard stage, where structured pieces become possible. At this stage, your slabs are firm enough to hold their shape for gentle bending and forming, yet still workable enough to join with slip and scoring. You can manipulate edges into curves, create intentional details, and attach pieces without worrying about excessive cracking. The key? Keep your slab thickness consistent throughout—uneven areas dry at different rates and cause warping later. Score those edges, apply slip generously, and press them together. You’re building something real now, something that’ll actually stand up.
Choosing the Right Stage
How do you know which slab stage is actually right for your project? Picking the right moment affects your work quality. Here’s what I consider:
- Soft slabs work best when you’re creating folds, curves, and organic shapes that need flexibility
- Leather-hard slabs work well when you’re joining pieces together with slip and scoring for clean, sturdy results
- Slab thickness matters too—thicker sections (around 1/2 inch) support larger pieces better and resist sagging
- Drying support keeps everything stable, especially when you’re working with leather-hard clay
Think of it this way: soft clay is useful for creative bending, while leather-hard clay is useful for precision building. I always check how my slab feels—if it holds its shape without drooping, you’re on the right track.
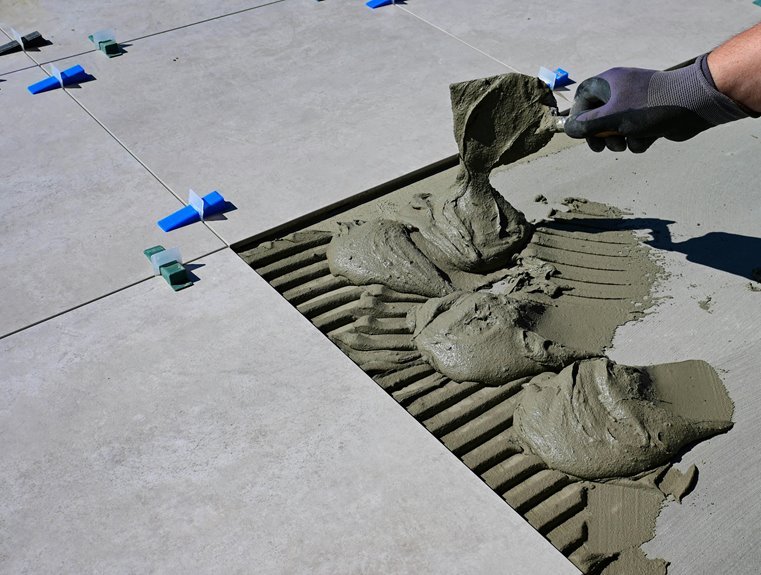
Score, Slip, and Join Your Pieces

The process of turning flat slabs into three-dimensional forms comes down to three simple steps: scoring, slipping, and joining. First, I make shallow slash marks on the edges I’m about to join—think of it like creating tiny grooves that help everything stick better. Then comes slip, this liquid clay mixture that acts like glue, making those scored surfaces nice and sticky. Here’s the key: I carefully align my slab edges (no air pockets sneaking in), then press them together firmly. After joining, I smooth out those seams so they disappear into the piece. It’s satisfying, watching two separate slabs become one solid form. When you’re working at leather-hard stage, you’ve got the right balance—firm enough to hold shape, flexible enough to bond well.

Precision Scoring Made Easy: Elevate your crafting with our Retractable Scoring Tool, a must-have for pottery, clay modeling, and other detailed projects. This tool guarantees clean, accurate lines every time, making puncturing effortless and swift compared to traditional needle tools. Crafted from high-quality ABS and stainless steel, it withstands rigorous use, ensuring precise results that last. Perfect for professional artists and hobbyists alike, it's a reliable addition to your toolkit.

🌟 PRECISE SCORING: 6 sharp tines ensure depth and precision of scoring marks with little pressure.

Package Includes: 2 Pieces Scoring Tools, Length: 5.1 inch
Build Five Slab Projects: From Bowls to Houses

Now that you’ve mastered the basics of scoring and slipping, you’re ready to build something real—and I mean beyond simple practice pieces. Here’s where slab construction becomes functional, because you’re joining edges to create actual objects you’ll use and love.
- Bowls – stack and drape slabs over molds for curved sides
- Boxes – perfect for practicing clean, geometric joining edges
- Houses – build walls, add roofs, create tiny architectural forms
- Clocks and pyramid plant hangers – combine flat geometry with creative folds
Each project teaches you something different about how clay works together. You’ll learn which joining techniques hold strongest, how shapes affect drying, and what your hands can actually create. These aren’t just projects—they’re your entry into the potter’s world.

Clay Sculpting Tools with Precise Depth: This set includes clay thickness guides in six sizes (2mm to 7mm). These acrylic clay roller guides polymer components function as a reliable method for creating uniform slabs with air dry clay tools and polymer clay tools, minimizing uneven surfaces

Good Even Thickness Every Time: get smooth, consistent clay slabs with ease, these slab roller strips guide your rolling pin to create uniform thickness for pottery, ceramics, and polymer clay projects

The Two Solid Rods Measure 8 By 0.8 Inches With 3mm And 5mm Thickness Rings
Add Texture With Sgraffito and Surface Tools

Once you’ve built those bowls, boxes, and houses, you’ve got something solid to work with—literally. Now comes the fun part: adding texture. I’m talking about sgraffito, a technique where you scratch through a surface layer to reveal contrasting colors underneath. It’s simpler than it sounds. When you’re slab-building, you slip a layer of clay onto your piece, then use needle tools or pin tools to carve patterns and lines into it. The scratches expose that hidden layer beneath, creating visual contrast and tactile detail that enhances your work. You can go wild with designs—geometric patterns, organic flowing lines, whatever speaks to you. Sgraffito takes basic slab forms and makes them gallery-quality pieces.

Premium Plastic Clay Texture Rollers – Crafted from high-quality, durable plastic, these texture rollers are built for long-lasting performance. Designed to effortlessly create intricate patterns on pottery clay, polymer clay, and other soft materials, they offer a reliable tool for both beginners and experienced crafters.
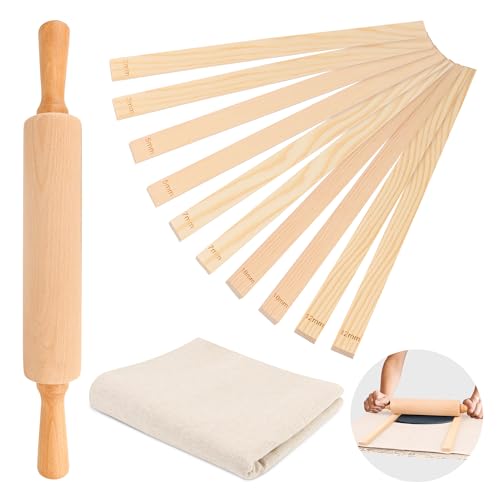
Premium Material: The rolling pin and clay rolling rod guide are made of sturdy and reliable wood, not easy to break or break, and can be reused. The tablecloth is made of linen cloth, which is breathable and moisture-proof, very suitable for pottery making, preventing pottery from cracking due to excessive humidity.
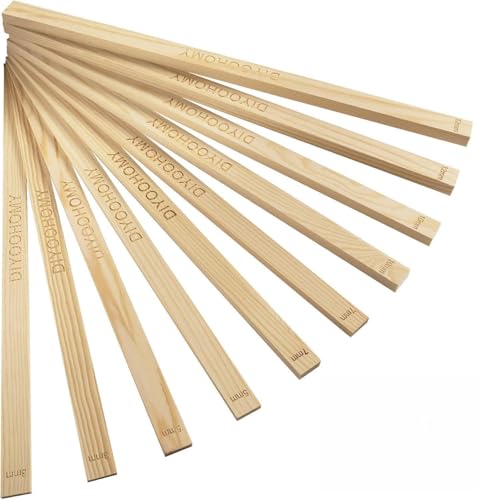
Multiple Sizes for Different Thickness Needs: This set includes 10 pine wood rolling guides in 5 thicknesses: 3mm, 5mm, 7mm, 10mm, and 12mm. Each stick is 17 inches long. Whether you're working with clay or rolling out pie crust, cookie dough, bread dough, fondant, or pastry, these guides help you get even thickness every time.
Prevent Warping, Cracking, and Collapse

Warping, cracking, and collapse—these are the persistent problems that’ll wreck your slab projects if you’re not careful. I’ve learned through experience that preventing these issues requires attention to detail and patience. Here’s what actually works:
Warping, cracking, and collapse wreck slab projects without careful attention to detail and patience.
- Keep your slab thickness consistent (about 1/4 to 1/2 inch) throughout
- Use scoring and slipping on leather-hard edges to minimize cracking at joints
- Support large or curved sections with molds or internal supports during drying
- Dry gradually and evenly, turning pieces regularly to prevent distortion
The key? Even moisture. I maintain consistent dampness while stacking and drying—it really does make a difference. Check for hidden air pockets regularly, and remember that slow drying beats rushed work every single time. Your pieces’ll thank you.

【Premium Material】Made from high quality slicone, which is not easy to break or deform. The edges of the mud tools have been meticulously cut and polished. This not only gives them a sleek appearance but also ensures your hands are safe while using them. You can focus on your creativity without worrying about accidental scratches

Ideal Combination of Pottery Supplies: our pottery teaching set has a total of 20 pieces, includes 1 Pcs wooden rolling pin, 1 Pcs pottery special linen, 10 Pcs rolling mud stick guides, and 8 Pcs pottery clay sculpting tools; The complete combination can meet your pottery making needs

This set includes two reusable acrylic clay rollers equipped with adjustable thickness rings, providing a convenient and consistent rolling experience without the need for a traditional clay roller machine.
Glaze and Fire Your Slab Piece

After you’ve carefully dried and bisque-fired your slab creation, it’s time to bring it to life with glaze. This step seals the surface, enhances textures, and creates visual depth. Here’s the approach:
| Glazing Tip | Why It Matters |
|---|---|
| Apply thin coats on edges | Prevents drips and uneven coverage |
| Use two glaze colors minimum | Emphasizes geometric forms and adds depth |
| Follow firing temperature guides | Produces reliable, beautiful results |
When glazing slab pieces, highlight the contrast between textured and smooth areas. Thinner applications on protruding edges prevent common issues. Follow the manufacturer’s cone recommendations—firing temperature and duration directly affect how your glaze behaves on stoneware.

【Wider and Thicker】Our Upgraded Clay Board features increased width and thickness. While maintaining the length of 17 inches, we've expanded the width to 13 inches and enhanced the thickness to 1/2 inches, improving usability and durability.


